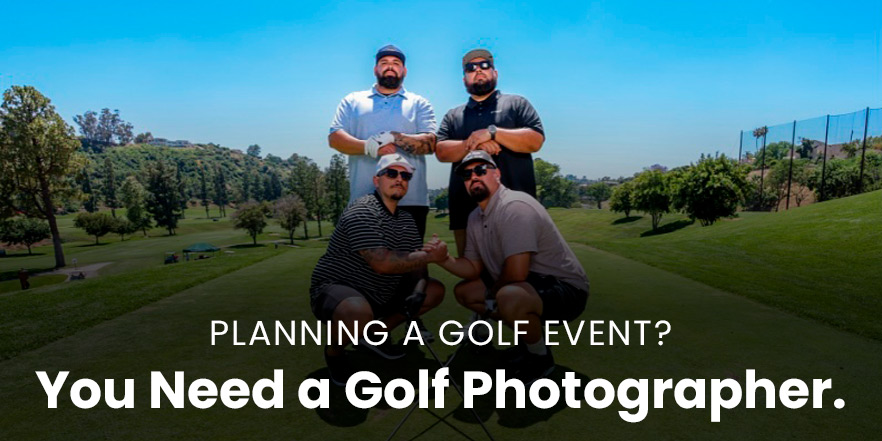
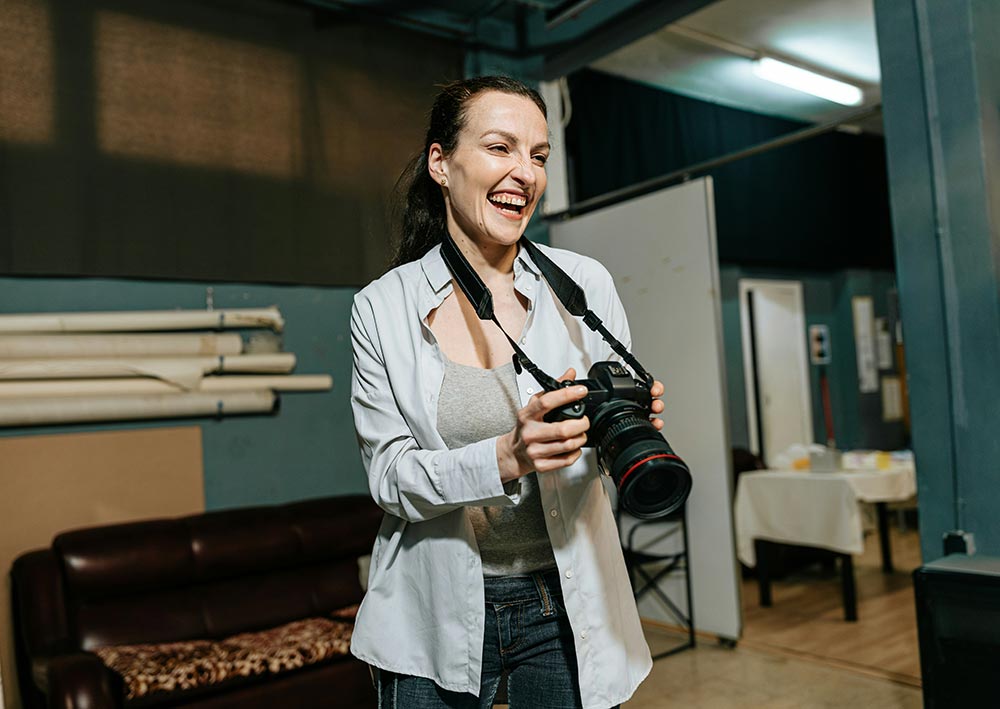
If you’re not sure if you should hire a photographer for your golf tournament, check this out. We interviewed Valerie of Tee Pic Photography on how her golf photography business works with event planners, what her venue tips are, and why photos make a great tournament even more memorable.
Based out of Southern California, Tee Pic Photography works all kinds of golf events. So we asked Valerie if she’d share some thoughts as to why event planners should hire a photographer for their golf tournament.
Why should someone hire a photographer for their golf tournament?
Because these events are full of awesome moments—great shots, big laughs, and team spirit. A photographer captures it all so players and organizers can relive the day and share the memories.
How did you get into photographing golf tournaments?
A friend gave us the idea. We shot one local event and instantly loved the vibe. The mix of nature, action, and fun people made it an easy yes to keep doing more.
What questions should clients ask before hiring a photographer?
Ask about their experience with golf events, how they work on the course, and what kind of photo delivery they offer—prints, folders, online galleries, etc. It’s all about making sure their style fits your event.
How does it work when someone hires you? Are you at one hole?
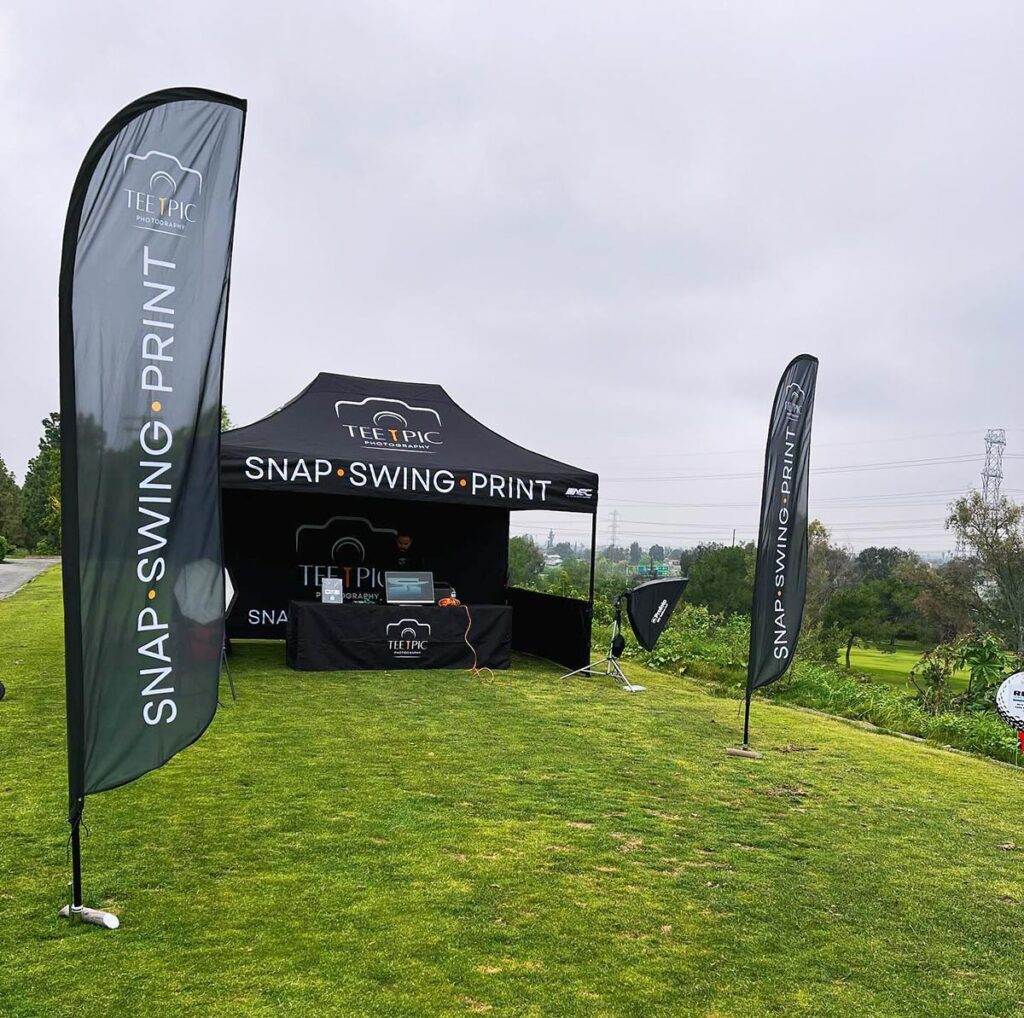
Usually, I’m set up at a scenic or sponsored hole to capture each foursome and we print their photo on the spot. It takes less than 10 seconds. I work with the organizer ahead of time to plan the best spots. We set up for a full day to capture each foursome.
Tee Pic Photography’s set up at a golf event.
What’s the most memorable tournament you’ve shot?
One charity event had celebrity golfers—super fun energy all day. So, we added a perk for exclusive headshots on the course! But honestly, every tournament has those unforgettable moments that make the job awesome.
Any advice for photographers starting out?
Learn golf etiquette, be quick and respectful, and always be ready to catch the candid moments. And yes—sunscreen and extra batteries are a must!
How do you use Studio Style Products in your business?
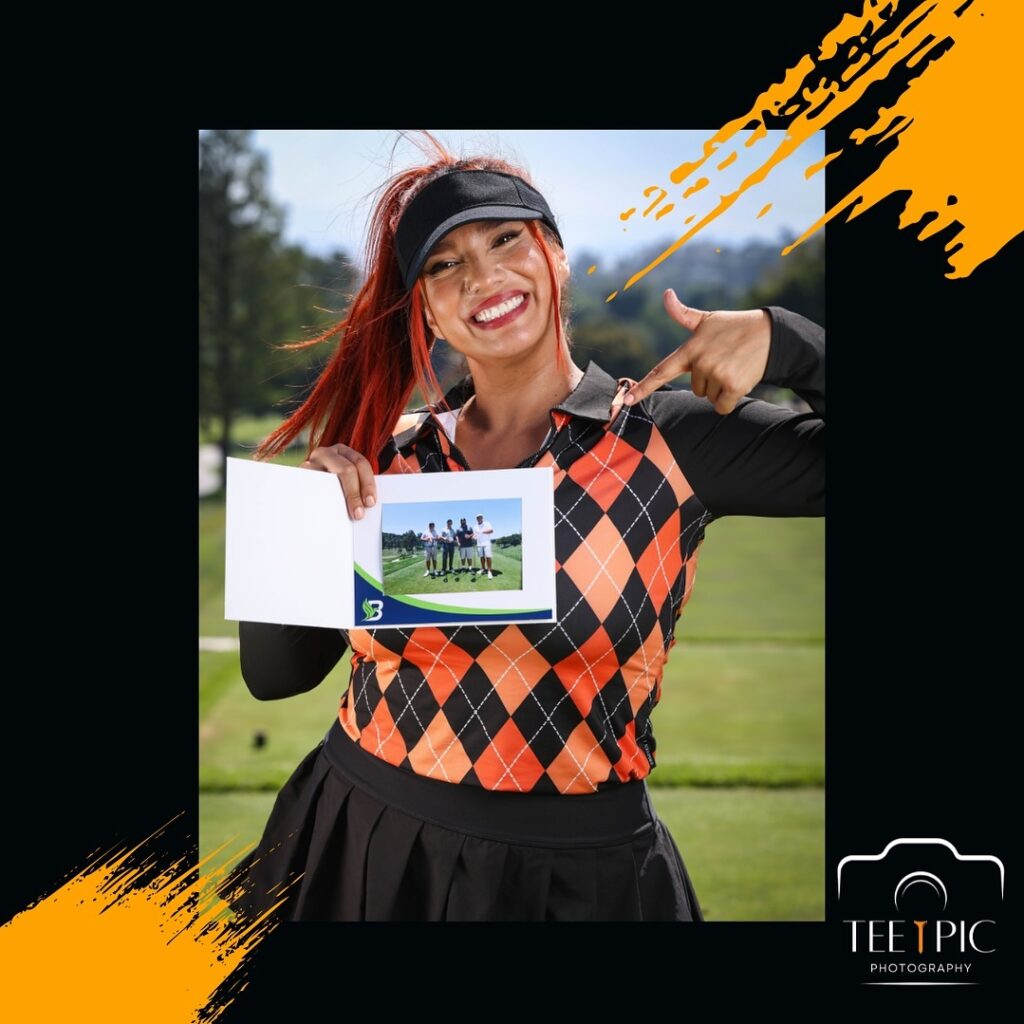
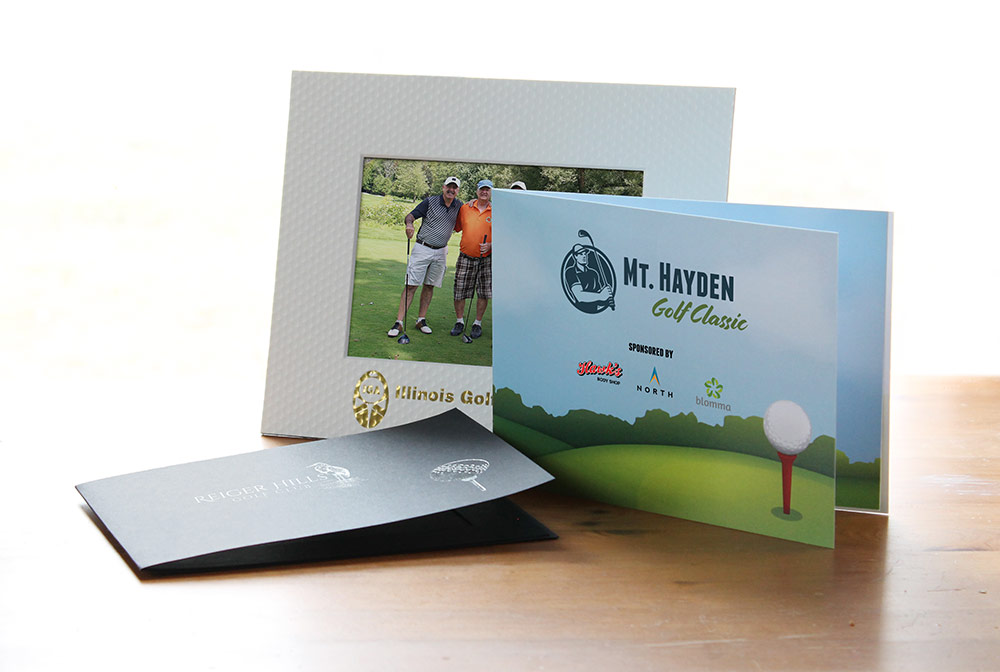
I use their photo frames to hand out on-site prints. They add a pro touch and are a great way to include the tournament logo or sponsor branding. People love them! It definitely gives a professional and premium vibe.
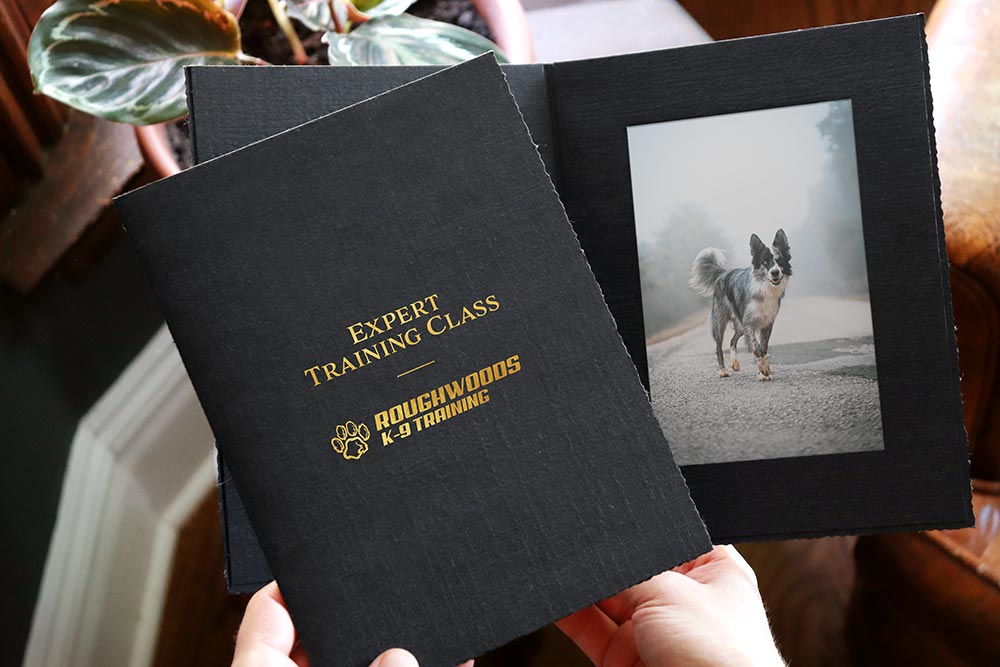
That’s Valerie! She’s modeling a custom photo folder we made for one of their golf event clients.
Any final thoughts?
Golf tournaments are about fun, connection, and a bit of competition. Good photos help people remember the day—and it’s always great to be part of that.
If you have a golf tournament or charity event, we hope Valerie’s answers help in your decision to hire a photographer to capture those memories. For more event photography insights, check out these questions to ask when hiring a photographer.
If your photographer doesn’t offer photo folders as part of their package, we’re happy to help. Photo folders are a fun souvenir for golfers to take home! They protect the print and keep your branding top-of-mind long after the event.
Need custom golf photo folders for your event? Get in touch or give us a call at (800) 346-3063.
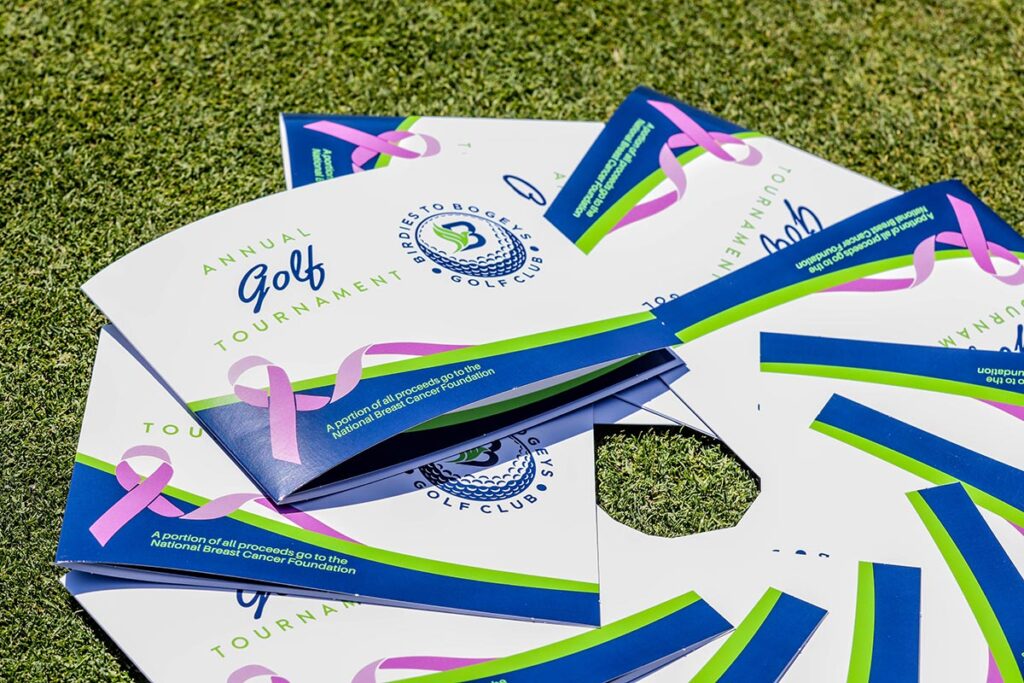
Custom photo folders we made for one of Tee Pic’s clients for a Breast Cancer Awareness fundraiser golf event.
The differences between Metallic and Satin Gold Foil is both subtle and unmistakable. Allow us to explain.
Metallic Gold Foil Stamping
Metallic Gold Foil is our most popular foil color. It’s classic, it’s recognizable, and it works with pretty much any branding and design. Here’s why people choose metallic gold foil:
Highly reflective
Catches light really well
Great for small, detailed imprints
A classic foil stamped look
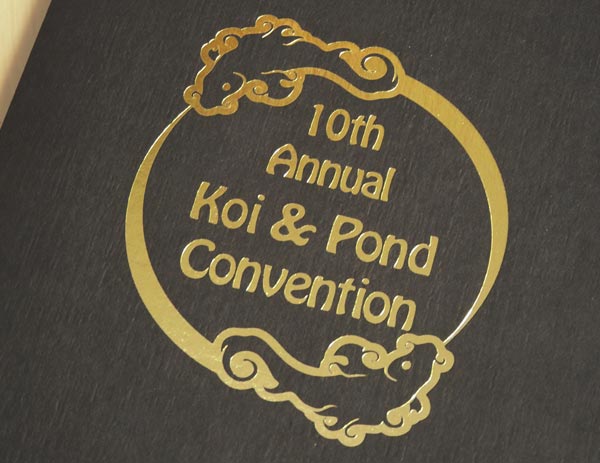
Metallic Gold Foil Imprint on a Black Studio Portrait Folder
Does Metallic Gold Foil look better on Black or White?
It all depends on what you’re looking for. Gold foil on black really pops. While gold on white is a bit more subtle, it still catches the light to create a truly stand-out piece.
Metallic Gold Foil Imprint on a White Studio Portrait Folder
Satin Gold Foil Stamping
While Satin Gold Foil is used less than metallic, it’s no less impressive.
Shines, but is more subtle than metallic
Has a modern, upscale look
Recommended for larger imprints
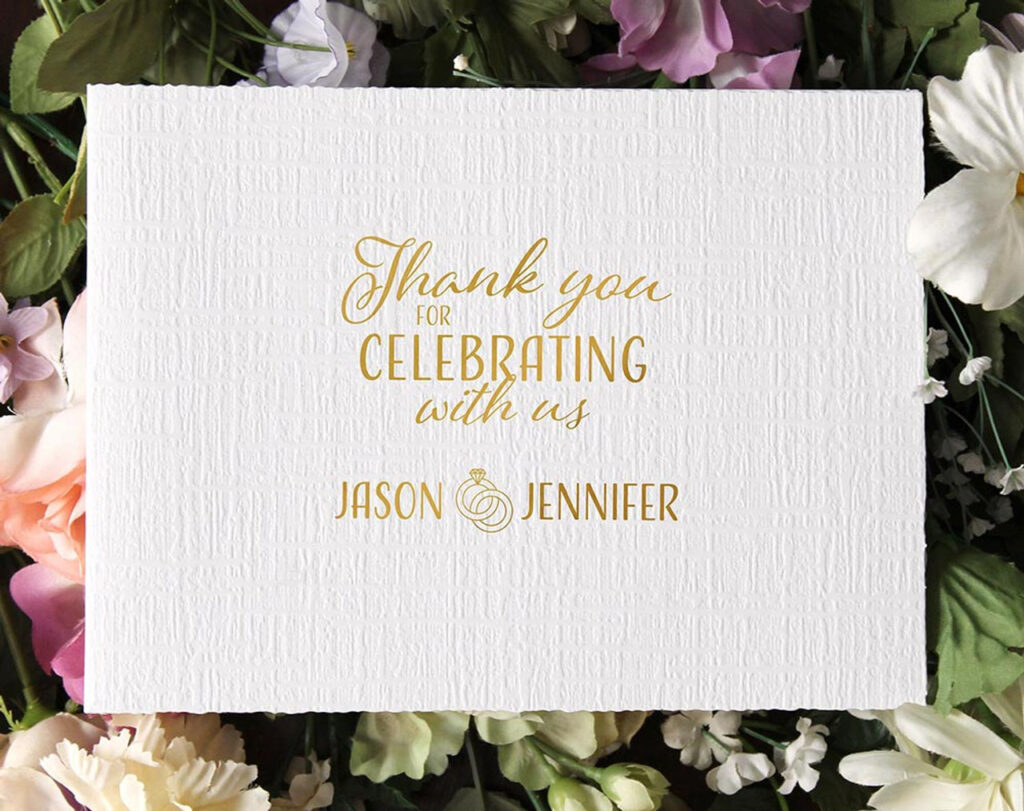
Popular foil color for weddings
Satin Gold Foil Imprint on a Black Studio Portrait Folder
Does Satin Gold Foil look better on Black or White?
There is a noticeable difference in Satin Gold on Black versus White. On black, it really stands out. The shine is still subtle, but there is great contrast between gold and black. There is less contrast on white, but the Satin Foil lends a really upscale appearance.
Satin Gold Foil Imprint on a White Studio Portrait Folder
Watch our quick video overview of Metallic vs. Satin Gold Foil
Our Studio Portrait Folders harken times gone by, with a rich, textured finish and deckle edges reminiscent of those vintage portrait frames and handmade paper. Crafted out of sturdy, recycled black or white paper board, these acid-free, archival-safe photo folders are perfect for gold foil stamping.
More than just Gold.
We offer more than 20 standard foil stamping colors. See all the color options on our website.
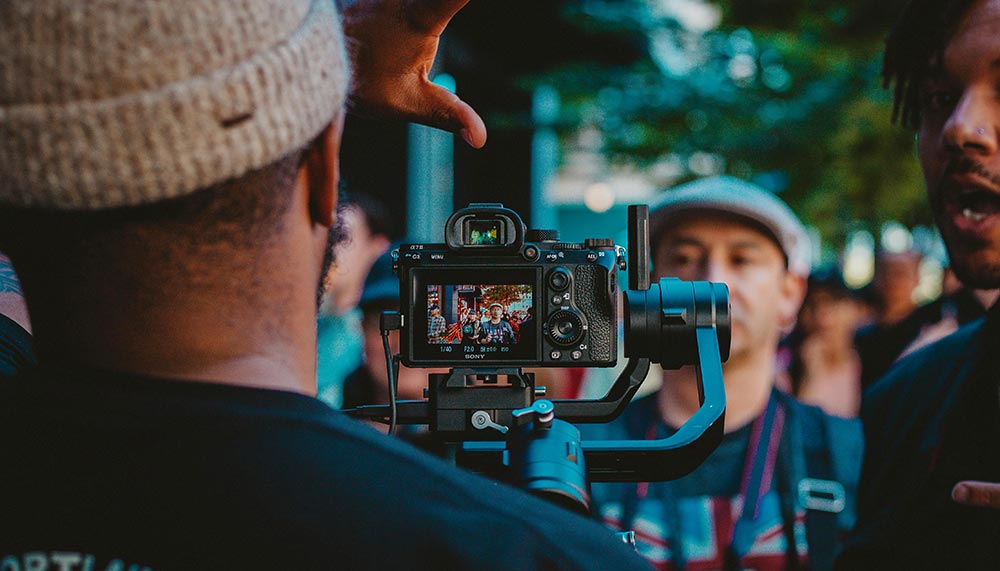
It’s important to ask event photographers the right kind of questions when hiring them.
To help you out, we’ve compiled a list of questions you should ask any event photographer—for weddings, corporate events, fundraisers, outdoor parties, grand openings, and more.
Read the questions below, and scroll on to learn why you should be asking these questions:
How did you get into photography? Have you been doing this long?
It’s good to get to know the photographer’s history and gauge their experience.
One doesn’t need a degree in photography to be a good photographer—but experience matters. The more experience a photographer has in a professional setting means they will be more prepared and knowledgeable. This is important because event photographers will often shoot several different types of events.
What type of events do you photograph?
If the photographer only does nature or fine art photography, they might not be the right choice to do corporate headshots at your next annual conference. Their website should have a decent spread of examples in their portfolio of their work to prove that they can do what you need them to do.
Do you have liability insurance?
Most professional photographers should have at least liability insurance. Even if you aren’t worried about any accidents, most venues will require your vendors—including your photographer—to provide a copy of their insurance certificate.
As much as you may love a particular body of work from a potential hire, it’s best to hire a photographer with general liability insurance. General liability insurance will protect you and your venue in case of any accidents. Even if you are not renting a venue, it’s still a good idea to hire a photographer with liability insurance in case of injury or accident.
Do you offer videography, a photo booth, or any other add-on services?
If you’re looking for videography, a photo booth, drones, or other services for your event as well, ask the photographer you’re interviewing if they offer these services. But don’t assume they’re part of their package or fee; ask for specific costs.
If the photographer doesn’t offer those services, be sure to ask if they have recommendations. Many event professionals have a good network of individuals whose services they’d happily recommend.
What’s the cost of your services? Is a deposit required?
Some photographers provide packages based on hours shooting and post-production time or number of images provided. Sometimes this is listed right on their website, sometimes it’s not. Even if it is listed on their website, you’ll still want to discuss cost.
You’ll want to ask if the event photographer offers add-ons to their packages, such as print retouching services. You’ll also want to ask if a deposit is required to reserve the date, how much is required to put down and when that deposit is due.
Do you charge for travel if my event is out of your service area?
This should be one of the first questions! Make sure that you are within an event photographer’s service area. It may seem obvious but if you’re located in New York you likely won’t hire a photographer that’s in California (unless you really like their style).
Even if your event is located in the suburbs and your photographer is based in the city, you should ask if there are additional fees to travel to the event location.
Do you have a backup plan in case of unforeseen circumstances?
It’s a good idea to have a backup plan—especially when relying on technology for your event.
If your photographer has been in business for a while, they should have a backup plan in place. This can mean carrying an extra camera body and lenses or having a backup photographer in case of an illness. Cameras break, lenses glitch, and sensors get dirty. Your photographer will be happy to explain their backup plan if you ask—and you should ask.
Can I request specific shots?
If you have certain shots you want, you need to hire an event photographer that will allow you to provide a shot list.
For example, if you’re holding a conference for your company and need shots of speakers at the event, you’ll want to give that information to the photographer beforehand. A well prepared photographer is an efficient photographer. Providing a shot list before the event will allow the photographer to plan their approach at the event.
How will you deliver the final images and how soon?
Having the right expectations from the beginning is important. Some photographers offer to send a flash drive of the final images. Other photographers may deliver your images via a file sharing service such as DropBox or WeTransfer.
You should note that just because the event is over doesn’t mean the photographer’s work is done. Post production (sorting and editing the photos) requires time, and the amount of time needed depends on the type of shots taken and the quantity of shots taken.
The photographer that you hire will provide you with an estimate of how long it will take to deliver the final images.
How can we use the images?
Although you’re hiring a photographer to take photos at your event, the photographer still owns the copyright of their photos. You’ll likely have a decent amount of freedom to use the photos as you want. However, there are some exceptions how you can use photos taken by an event photographer:
Some photographers charge for prints, or they provide prints and will want you to order prints through them.
In most cases the photographer will allow you to share the photos on social media and internally without any caveats.
When you use those images in marketing materials where you are directly making a profit from an image is when you run into the potential of copyright issues.
It’s best to ask up front what restrictions you might have with the use of the final images.
Do you offer onsite printing?
This usually isn’t offered for candid shots of your event but if you are requesting portraits, head shots, or an add-on service like a photo booth this may be an option that is provided.
Hi, we’re Studio Style. We work with event photographers.
We design and manufacture custom photo folders, paper frames, and cards to get your event pictures home, safe and sound. We’ve worked with all sorts of event photographers—wedding, corporate, fundraiser, golf and sports, school, festivals, tourism, and more.
We love helping party people get their event pictures home. How can we help you? Find your event photo framing solution at StudioStyle.com or give us a call at (800) 346-3063.
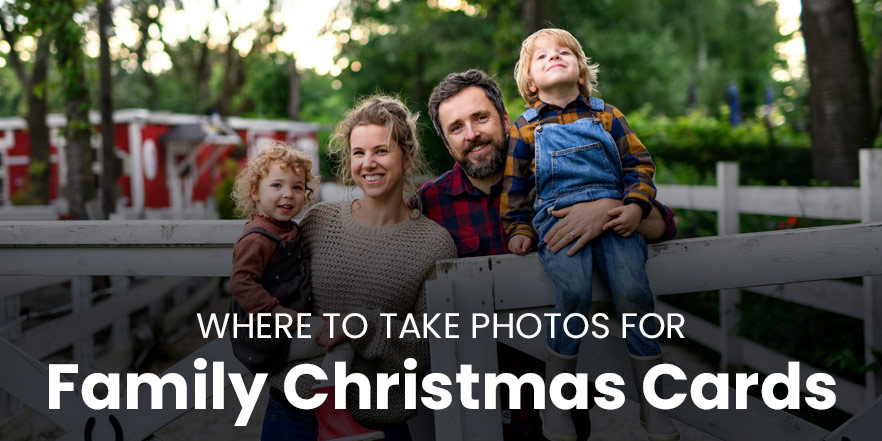
You want to take the best family Christmas card photo, but you’re not a professional photographer, and you don’t know what kind of backdrop to use. You got this! With a little creativity, you can make just about any location work.
Check out this list of creative Christmas card photo location ideas. And we have ideas for everyone, whether you live in an urban, suburban, or rural area.
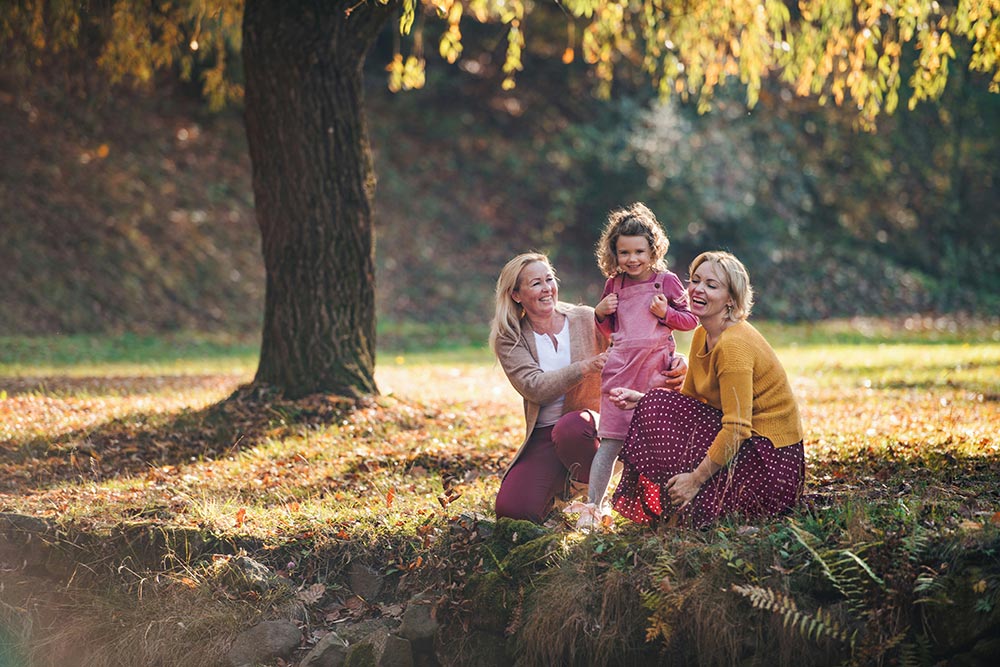
Local park, forest preserve, or natural area
When you get out into nature—no matter the time of year—background ideas abound. Go in summer when the prairie is full of flowers, in fall when the leaves are turning the brilliant autumnal hues, or in winter as the snow begins to fall.
A few factors to look for:
Find a consistent background. All trees, all shrubs, or all flowers. A busy background takes the focus away from you.
Watch the tree trunks! When composing the group photo, make sure it doesn’t look like a tree is coming out of someone’s head.
Be mindful of sunlight. Midday on a sunny day isn’t the best time to take portraits. The best lighting—for any type of camera—is in a shaded area where the light is even, and no one is left squinting in the sun.
Please keep these things in mind if taking a family Christmas photo in nature:
Stay on trails and grassy areas. Landscapers and land managers work hard to maintain these spaces. Whether it’s an ornately-designed park or a wild space, be mindful of where you step.
Watch out for the little critters. In many areas of the U.S., ticks are present until it snows or gets really cold, so be sure to wear bug spray if needed, and check after the photo shoot to make sure no unwanted visitors came home with you.
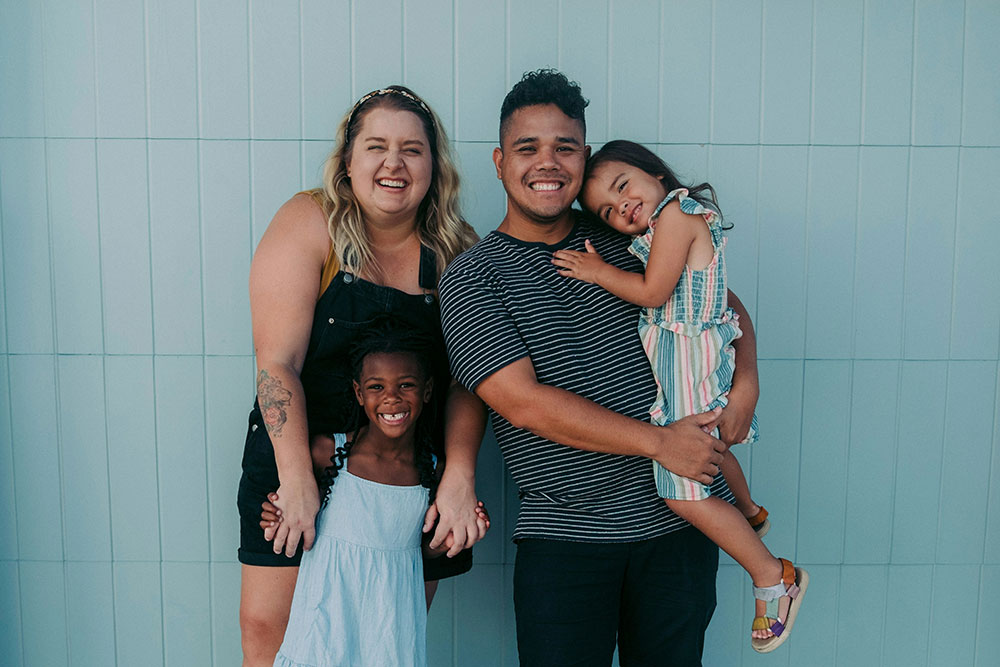
Find a wall
Brick, wood, a colorful painted mural. Your family can lean against the wall, or have it in the background. If it’s in the background, use the portrait setting or larger aperture to blur the background a bit.
Consider a wall at your home first, then look at public places. Be considerate of private property; if it’s a business, just ask! They might be willing to let you take your holiday card photos at their location, especially if you tag them on social media if you share your photo.
Evergreen trees
A row or grouping of evergreen trees provide a subtle texture in the background, a pop of color, and a hint of Christmas—even if there isn’t any snow on them.
At your home—with or without Christmas decorations
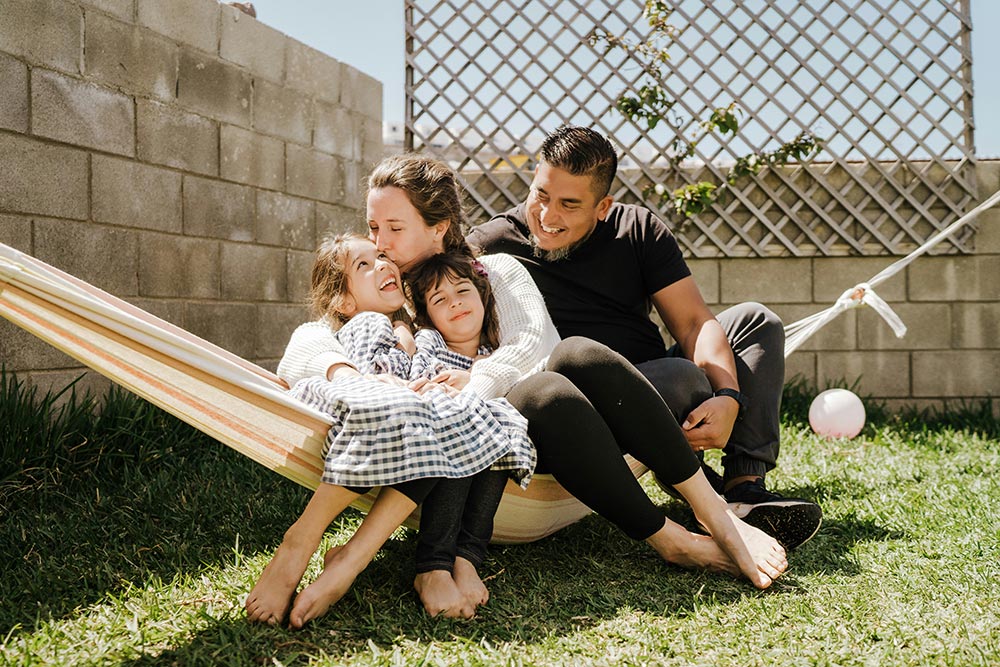
You don’t have to clean your entire house for this! Just the one area for your portrait. You can all sit on the couch, stand on the porch, in the backyard, or in the middle of the living room. Adding Christmas decorations is entirely optional!
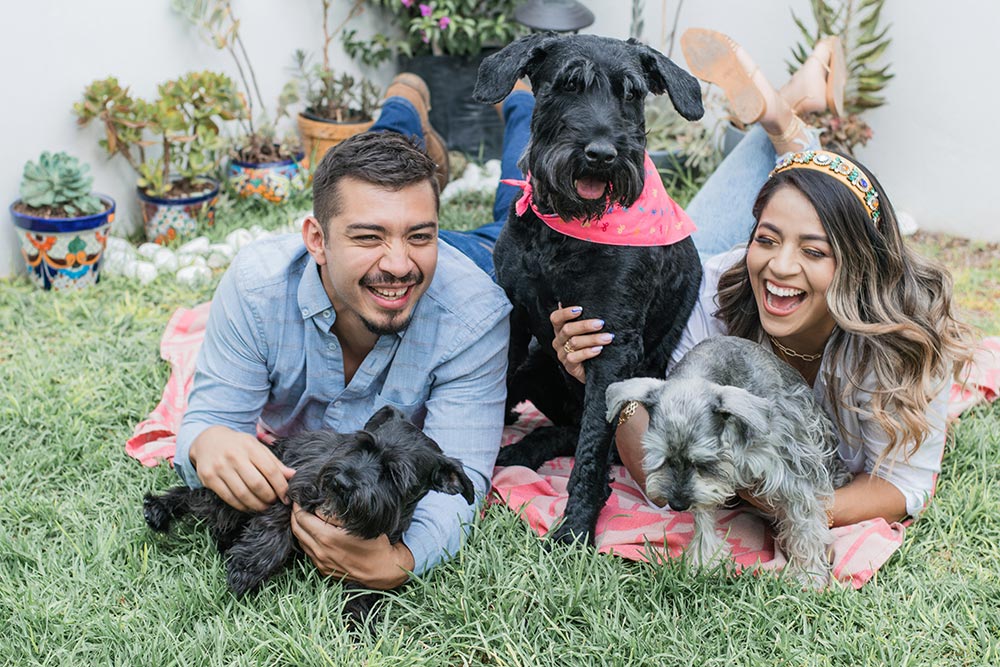
With animals
If you have a dog, cat, bird, lizard, or even some fish, include them in the picture! You can get a nice, posed family portrait for your Christmas cards, or be a bit goofy. Get some candid shots of the dog being goofy, the lizard wearing a little hat, or your bird enthusiastically flapping its wings.
If you don’t have animals—but want some in your Christmas card picture—you have options! Here are some ideas:
Go to the zoo. Get your favorite animal in the background.
Petting zoos for a more intimate shot. Buy a small bag of feed for the goats and get ready to smile!
Go to a pond, get some ducks or geese in the background. Just let them do their thing, they’ll just happily paddle in the background while you smile and say cheese. But please don’t feed them bread.
Know a farmer? Ask them to borrow their cows. Ok, so not really borrow, but have them in the background of your image. This is perfect whether you live in a rural area or are just passing through. You can find farms like this through social media, on a list of CSAs (Community Supported Agriculture), or even as a tourist destination.
At a party, celebration, or family event
If you want a formal photo, have someone take your picture at a wedding when you’re all dressed up. If you want something more casual, consider a birthday party or summer picnic. Any event will do. Just get the picture before the kids run around too much! Thanksgiving is an ideal time to snap a nice family portrait.
Where do you take family photos for Christmas cards?
We’d love to hear where you’ve taken your photos for family Christmas cards. Someplace weird, wonderful, or creative! Feel free to share what you’ve done below.
Hi, we’re Studio Style! We design and manufacture photo insert cards, custom photo folders, paper and cardboard picture frames, cello bags, and more. We work with professional photographers, event planners, party pros, and, well, people who like to take pictures! Check out our photo framing solutions at StudioStyle.com or give us a call at (800) 346-3063.
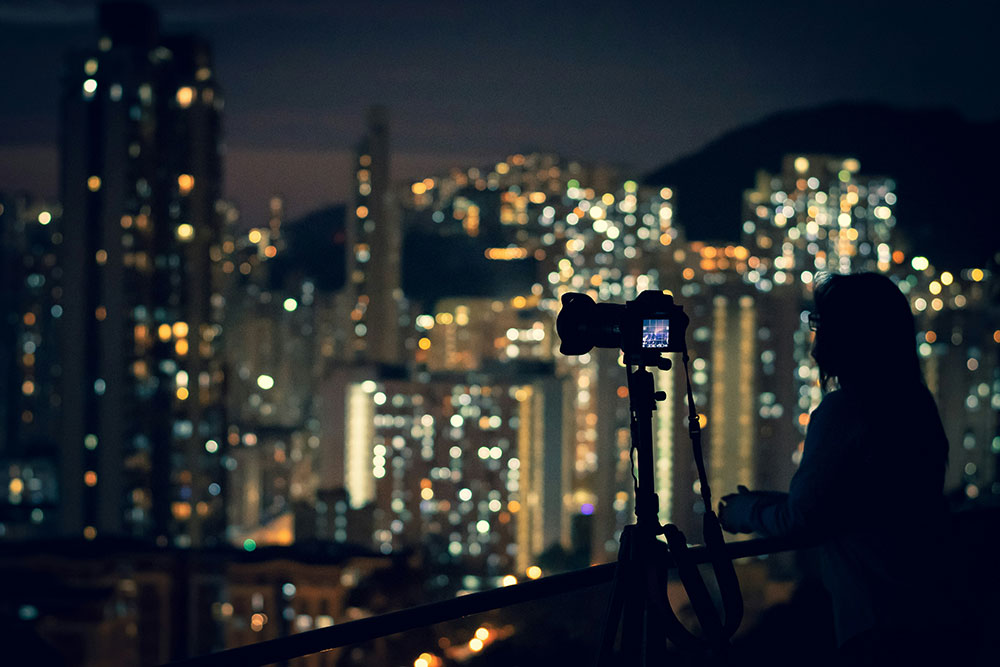
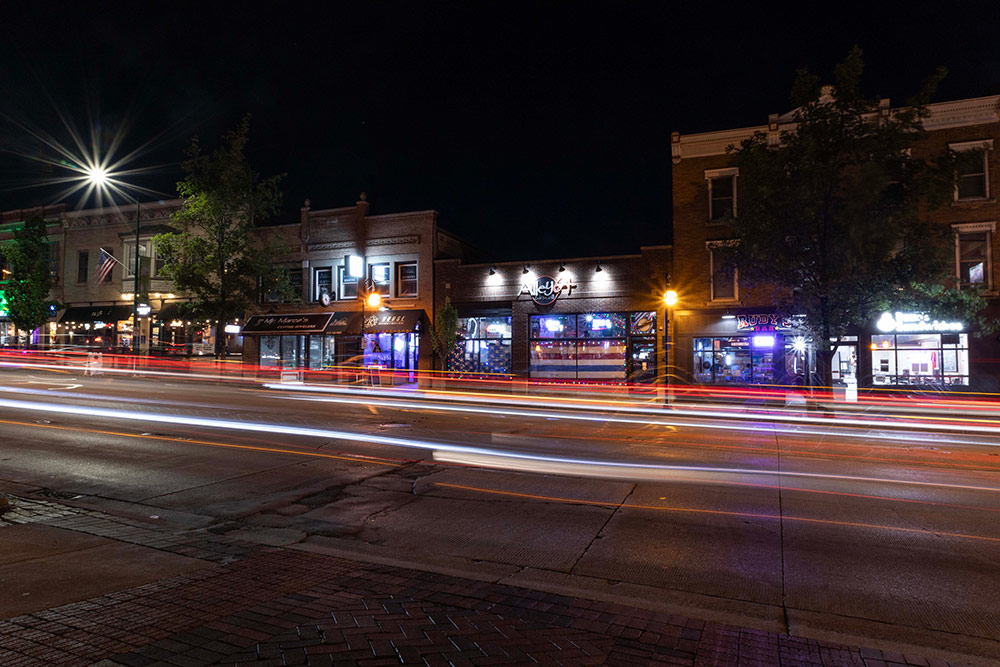
Night photography has many unique perks and is an incredibly fun and creative outlet.
But… it also has its challenges.
Taking photos at night is completely different than taking photos during the day. Let’s start with the main source of light for daytime photos: the sun! At night, you lose that important light source, instead relying on ambient light or additional artificial light.
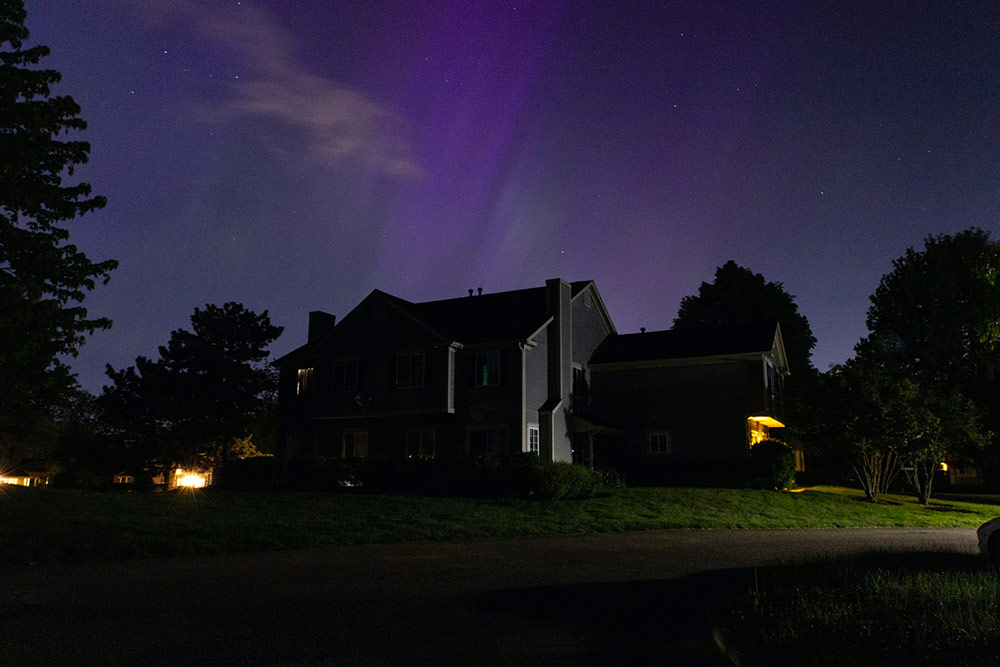
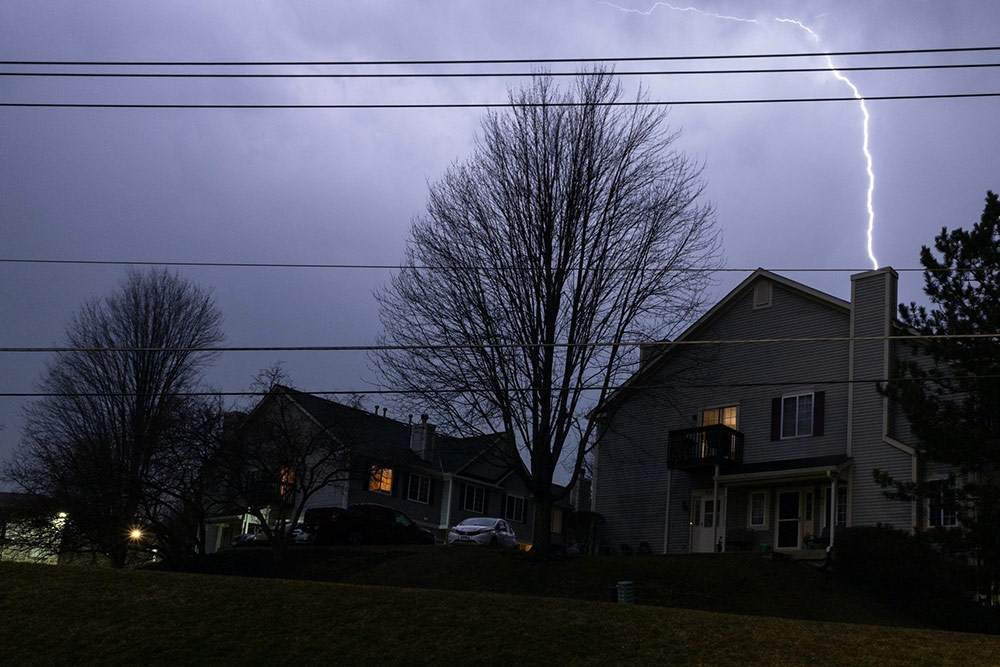
Here’s the cool thing: night photography provides the photographer and the viewer with another perspective of a scene they don’t get during the day. For example, thunderstorms, meteors, northern lights, and fireworks, are much more brilliant—or just plain more visible—during the evening hours.
If you’re interested in adventuring outside with your camera at night, we’ve compiled some night photography tips that will help make your evening photo shoot a successful one.
Recommended Equipment for Night Photography
First, let’s talk about your tools. The equipment listed below is immensely helpful in night photography.
If you’re serious about taking photos at night, you’ll want to consider investing in these pieces. Some of these are must haves (camera, tripod, and remote shutter release), some will just make your life a little easier:
DSLR or Mirrorless Camera
Tripod
Remote Shutter Release (aka Remote Trigger)
Extra Camera Batteries
Flashlight
Lens Hood
DSLR or Mirrorless Camera
The first item is the most obvious. But it’s important that you have the right kind of camera.
When shooting at night, you’ll want to manually change your aperture, shutter speed, and ISO. It’s important to have a DSLR or a mirrorless camera so that you’re able to adjust these settings. “Point and shoot” cameras and smart phone cameras may have a lot of megapixels that allow you to take great photos during the day, but you can’t fully customize your settings.
Although most smart phones have a “night mode” or the option to change your aperture, it’s not the same; this is a digital version. Much like digital zoom can’t beat an optical zoom lens, a digital aperture adjustment isn’t the same as an optical aperture adjustment.
Tripod
A tripod is necessary in certain situations like long exposure photography. But not all-night photography is long exposure photography. If you have a lens that opens wide (aperture) of 1.8 or lower you may be able to do some hand-held photography with a high ISO. A general rule of thumb is if your shutter speed is slower than 1/50 of second then you’ll want a tripod.
On windy nights you’ll want to use the hook in the middle of your tripod. Many tripods have these so you can hook a sandbag to help weigh the tripod down, giving it more stability in the wind.
Also known as a remote shutter release, this tool is very helpful in long exposure situations. Since your camera needs to be completely still, physically pressing the shutter release button can move the camera, even in the slightest. This can make your image blurry, and nothing ruins an awesome shot like some unintentional softness.
While you don’t need a remote trigger, this is the only way you can successfully use the “bulb” setting on some cameras.
Extra Camera Batteries
While extra batteries aren’t necessary for night photography, they can come in handy. Here’s why:
Long exposures can cause your camera battery to drain at a higher rate than normal.
Temperature can also affect battery life, so keep this in mind when shooting in cold temperatures.
Keep extra batteries close to you (like in your pocket) so your body heat can help keep them warm on cold nights. Or keep the batteries in a warm place and retrieve them as needed.
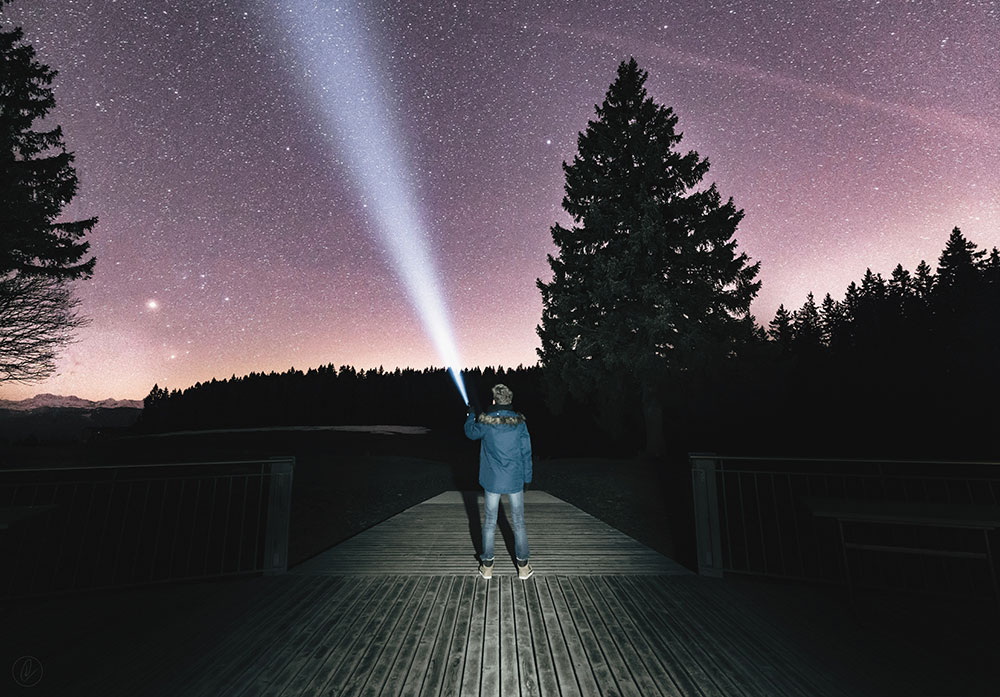
Flashlight
A flashlight can be helpful for finding your gear, finding your way, and safety reasons. You can also use a flashlight to “paint light” into your foreground. For example, if you’re taking a picture of a scene and exposing for the night sky, you can use a flashlight to brighten up the foreground to give your image some more depth.
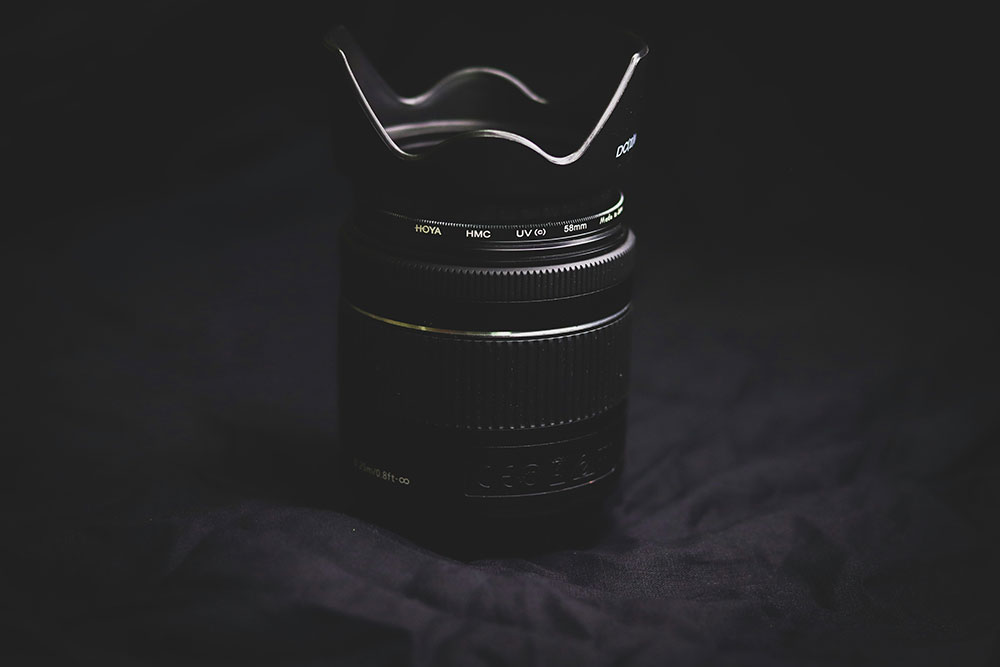
This is a tool that screws onto the end of your lens that helps block light that hits your lens and causes lens flares. Lens flares often happen when you shooting directly towards the sun during daylight hours, but it can happen at night too. If there are a lot of artificial lights around it can sometimes be hard to avoid light rays hitting your camera lens. A lens hood helps with this dramatically. You don’t need this to shoot at night but it is helpful to have.
Now that we’ve discussed the equipment that’s helpful in your night photography adventures, let’s move onto tips to use while you are shooting at night.
Shoot in Raw
Yes, shooting in raw causes large files and is not ALWAYS necessary, but it’s helpful if you want to do non-destructive edits.
When practicing night photography in urban or suburban areas there are often many different types of artificial lights. These different light sources can cast different colors on your scene, depending on the type of bulb that’s used. If you’re using auto white balance or are unsure of what white balance setting you should use, shooting in Raw will help with adjusting that color in post processing.
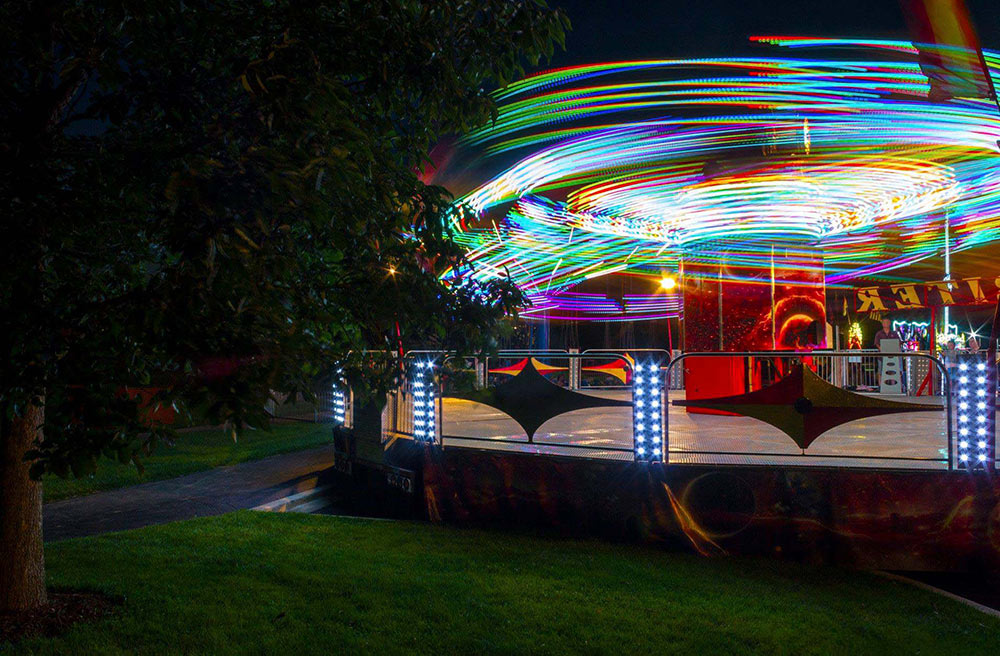
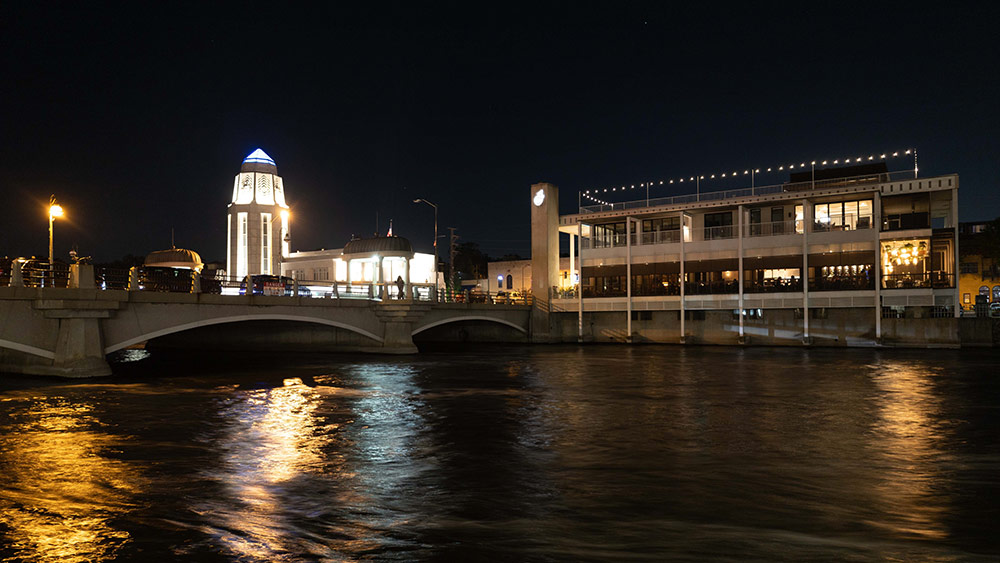
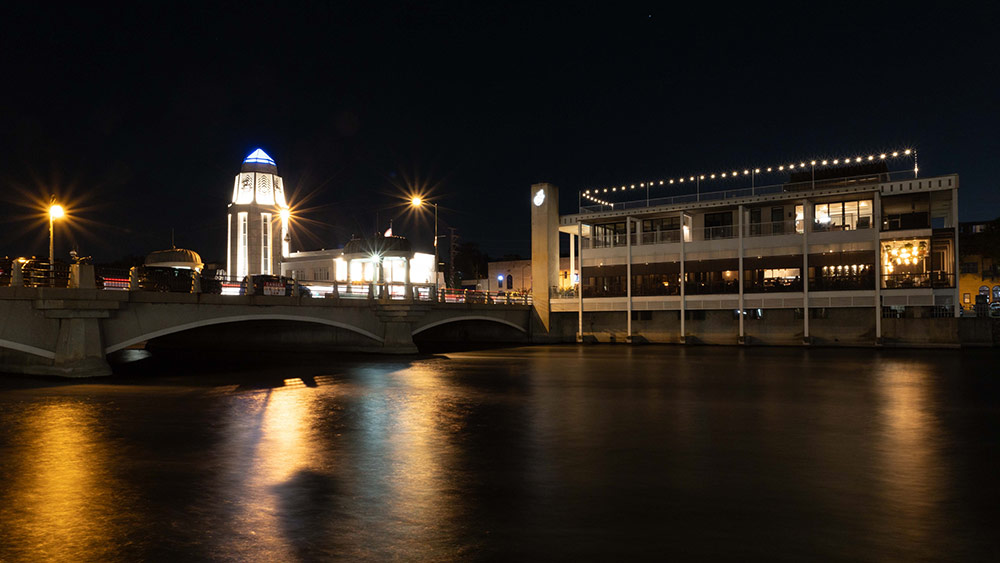
Use Manual Mode
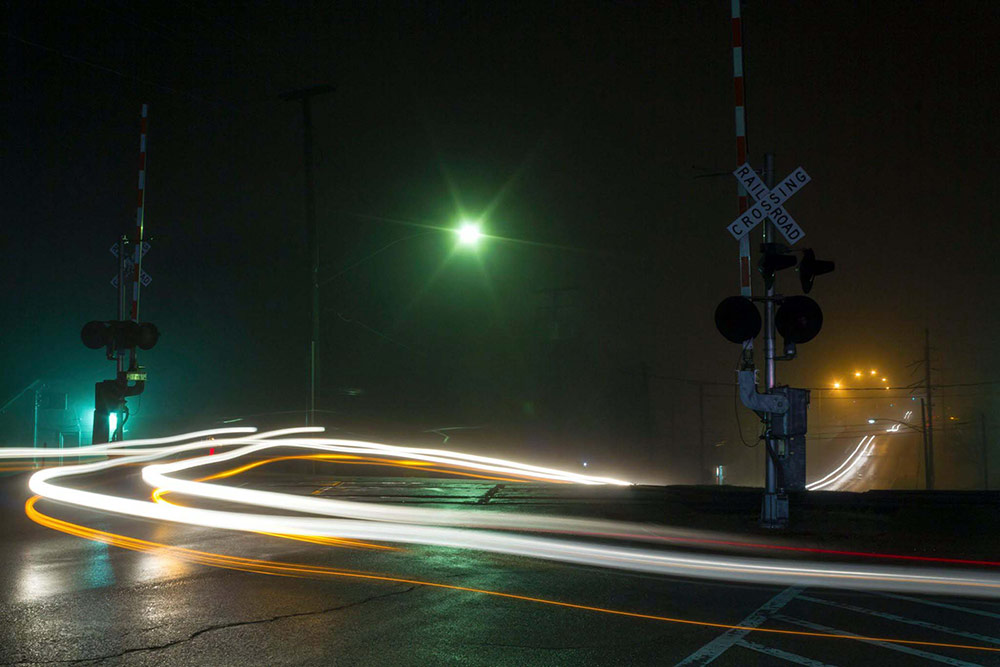
You’ll want full control over your camera settings for the best night photography. Shooting in manual mode at night is a great way to get to know your camera and its capabilities. Utilize your internal camera meter and adjust accordingly. If you’re shooting in an urban setting, you may find yourself surrounded by artificial light. Using a small aperture, (F22 or higher for example) will give lights a “starburst” effect to the rays of light it emits. This can be a cool-looking effect in your photos.
These two photos above are of the same scene on the same night but with vastly different settings. The photo on the left was shot at an aperture of F4 and the shutter was open for 1.3 seconds. The photo on the right is shot with an aperture of F22 and the shutter was open for 25 seconds. Both shots were with an ISO of 400. The image on the left has more definition in the water whereas the image on the right has no texture/definition in the water due to the longer exposure. Additionally the light beams from the street lights on the right have that “starburst” look due to the small aperture whereas the photo on the left does not.
Safety first! Be aware of your surroundings.
When out at night, in low light, you need to be hyper vigilant and pay attention to what’s going on around you. Be careful when walking around, especially in more rural areas where there might not as much light. Keeping a flashlight with your night photography gear is a must!
Test Your Settings
Shooting at night affords you the opportunity to test which settings will give you the most desirable outcome.
For example, you may be shooting on a tripod but you set your ISO high—let’s say 1600. Being that it’s night, this high ISO setting might make sense. However, the higher the ISO, the more noise you have in your image. Since you have a tripod, you can experiment with adjusting your shutter speed and aperture so you can have a lower ISO.
If you don’t have a tripod and have to hold your camera instead, you’ll want to use a higher ISO so your shutter can be faster.
Additional Night Photography Tips
Venture out at dusk. Don’t wait until it is completely dark. Go while there’s still some light so you can get your bearings and get your creative juices flowing.
When shooting lightning, leave your shutter open for 15-20 seconds and adjust your aperture accordingly. You will never catch lightning if you are trying to time the shutter release at the same time as a bolt strikes. Wait until the lightning strikes with your shutter open, then once it hits, close the shutter.
Have fun! This one is a must. 🙂
Now that you have some helpful tips to help with night photography, go start shooting!
Hi, we’re Studio Style!
We design and manufacture custom photo folders, cardboard picture frames, photo mats, photo insert cards, and other event photo packaging solutions. We work with professional photographers, event planners, enthusiasts, hobbyists, and people who just like taking pictures. And we’d love to work with you!
Check out our solutions at StudioStyle.com or give us a call at (800) 346-3063.
Unless otherwise noted, all photos in this post were taken by our very own Amanda Pomplin, who is one of our customer service superstars. She went to school for Photography Technology, and before joining our team, worked as a lab technician and photo editor at a photo printing lab. She (clearly) photographs a variety of subjects, always capturing something creative (check out her landscape photography tips). We love seeing the end result. If you want to chat photography (and photo folders), ask to talk to Amanda!
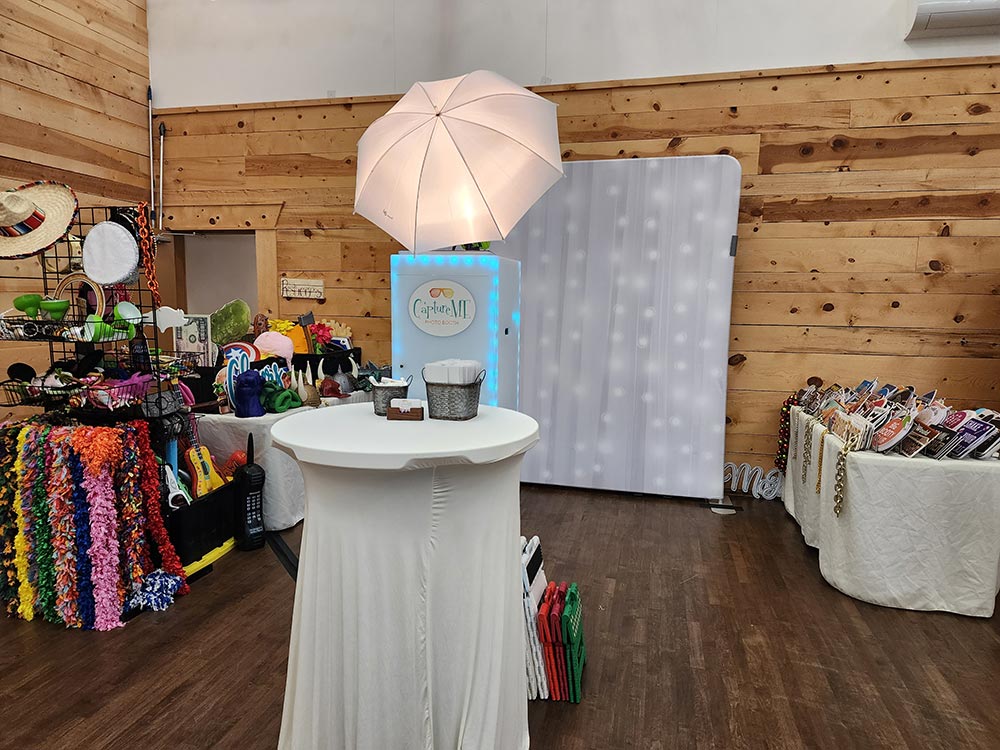
We recently talked with Jess Santos, owner of CaptureME Photo Booth in Colorado, about what couples should look for when renting a wedding photo booth, what questions to ask, what to expect, and more.
If you’re looking for a wedding photo booth rental, read Jess’s answers first! She provides insights that only someone who really knows this business can provide.
Read on to learn what questions to ask when hiring a photo booth for your wedding.
Why have a photo booth at the wedding alongside a traditional photographer?
Jess: Photo Booths can be an icebreaker which can help get your party going. Not everyone loves the traditional photographer who roams around taking styled and posed photos. However, you add some silly outfits and signs with the funniest saying on them and even grandpa will join in the fun. A photo booth allows your guests to let loose and be themselves. Plus our photos double as a guest favor and everyone loves instant prints.
Key takeaways: Photo booths provide a casual, relaxed photo experience, plus everyone gets pictures to take home from your wedding.
What questions should couples ask when renting a photo booth?
Jess: Always ask to see their output and event setup photos. Ask what equipment they are using and have an idea on what you’re looking for. Do you want a digital iPad Booth or a Booth with a DSLR Camera and Studio flash? Look for quality work when sorting out vendors. Be picky but keep in mind that quality does cost, but it doesn’t cost an arm and and leg. Don’t rush to book. Ensure you’re booking the right vendor who’s right for you and can provide the level of service you’re expecting to receive.
Key takeaways: There’s a difference in photo booth equipment and service; ask about it! Make sure their photo portfolio meets your expectations.
Do any of your clients have regrets after renting your booth?
Jess: We have an average of 75% referral rate. Most times my clients say they didn’t book enough time. No one ever books enough time, they are worried about budgets. I’ve also been told, “I wish I would have taken more photos.” We do our best to make sure the guest of honor makes it to the photo booth. We approach the Bride and or Groom and/or parents of the B&G to let them know where we are at on time and that we still need to get those family photos. We’ll remind them once or twice but if they are too busy or have other activities going on, it’s hard for them to find time to get into the photo booth.
Key takeaways: Either book extra time for your wedding photo booth, or schedule in time to get all the photos you need (ie, family, friend groups).
What’s your most memorable wedding photo booth experience?
Jess: We work a lot of weddings and with our referrals we see a lot of our past clients come through the booth as guests. This one particular wedding we did was 9 months prior and I saw the B&G (now happily married for 9 months) standing in line. They got out of line, came over to give me the biggest hug you could imagine and said, “you made our wedding” “we love the photos and the memory book you created for us” “we look at that book every night.” It means a great deal to me to know that my passion for creating a memorable evening carries on longer than I could ever imagine.
Key takeaways: If you had a fun photo booth experience, let them know! Online reviews are great, or if you see them at another event, go say hi. Feedback helps small businesses thrive and grow.
What was the biggest disaster—and how could it have been avoided?
Jess: Our biggest disaster was setting up outdoors for a large corporate employee appreciation event. I knew 10 days out the weather wasn’t going to be great and that heavy rain was in the forecast. I reached out to the client many times with our concerns over the rain and was told the event is outdoors and the show must go on. I was assured that they had the proper canopies and that we’d be protected from the sun, wind, and/or rain. We arrived ahead of time to set up and when we arrived at our setup location we were provided canopies that were old with holes everywhere. I set up knowing this was not going to end well and within minutes of go time the rain was pouring down on us. There were no side walls to the canopies so rain was coming at us from all directions, including above us. Our equipment, the booth, printer, backdrop, props, basically everything was soaked. We no longer set up outdoors without a weather clause and a weather clause has to be signed prior to booking.
Key takeaways: Even if the weather forecast says sunny skies, have a back-up plan! Make sure you discuss this with the photo booth team before your event so everyone is on the same page. Like Jess has, ask about a weather clause.
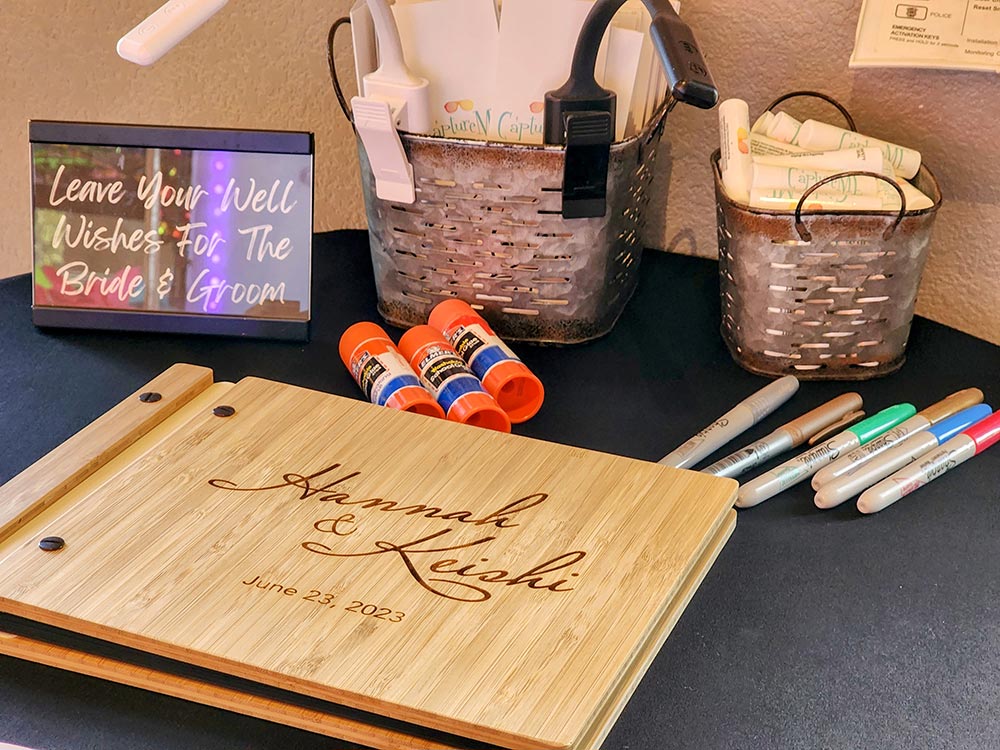
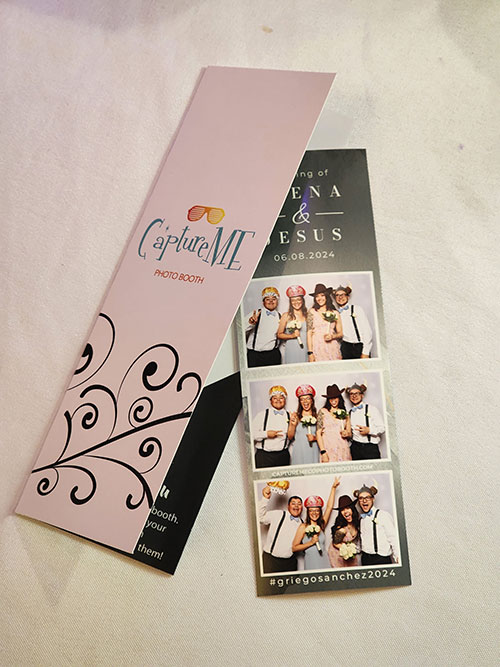
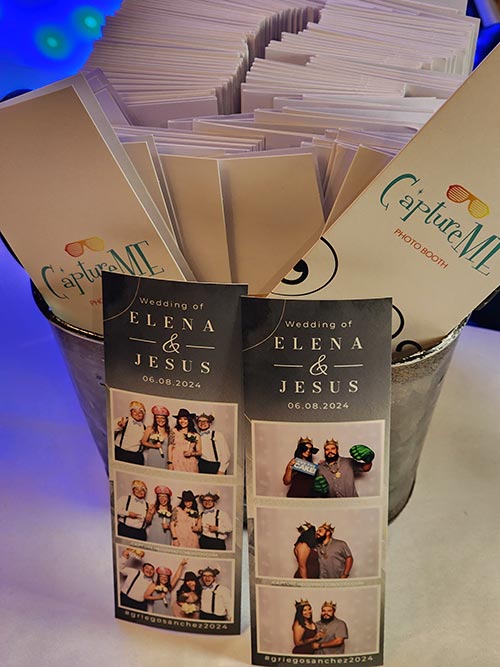
How have you used Studio Style products with your booth?
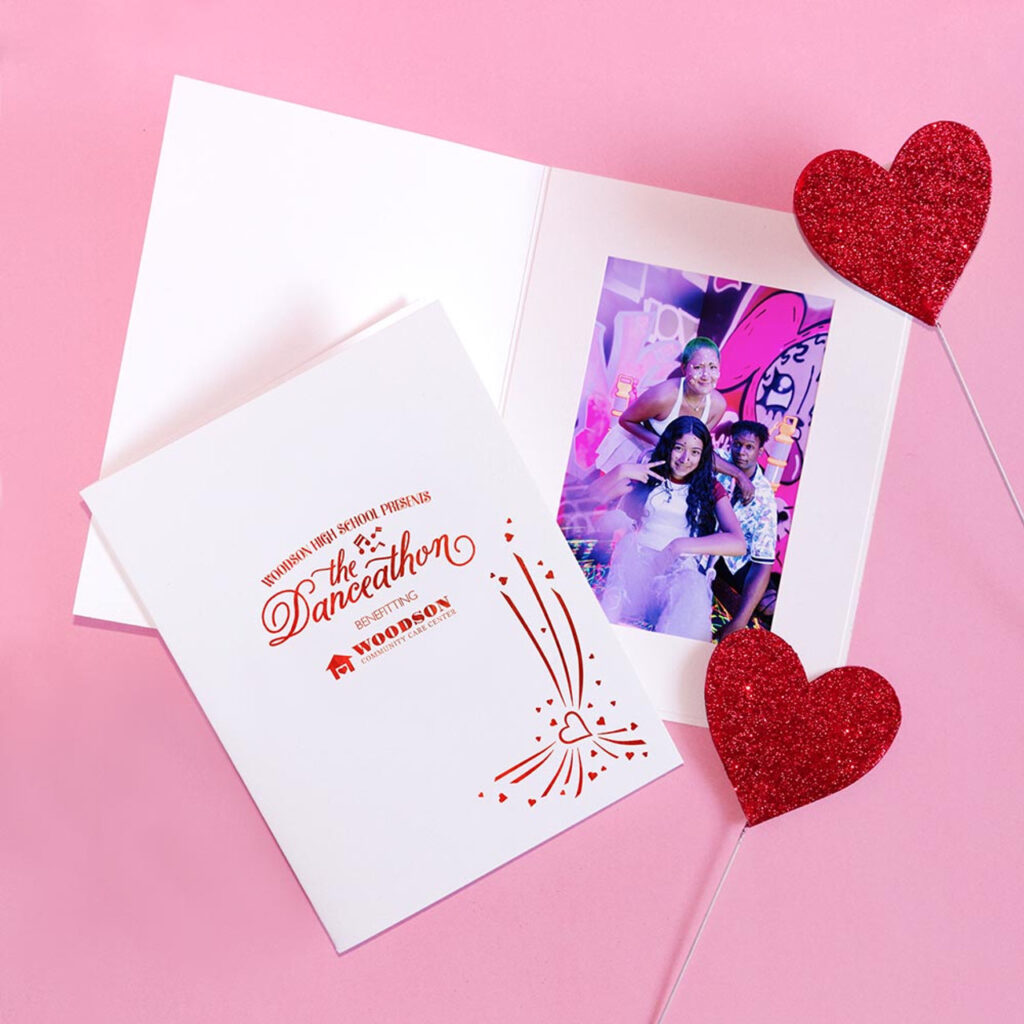
Jess: We use Studio Style folders as part of our advertising. We include a logo, a QR code to our website, our contact information and a “thank you” for visiting our photo booth which is included on the folders. This is a small expense and a great way to keep our logo, name, and business out in the general public. It’s cost effective as most clients keep their folders since they keep their photos in them.
Key takeaways: We love making photo booth folders for CaptureME! Check out a recent design we created:
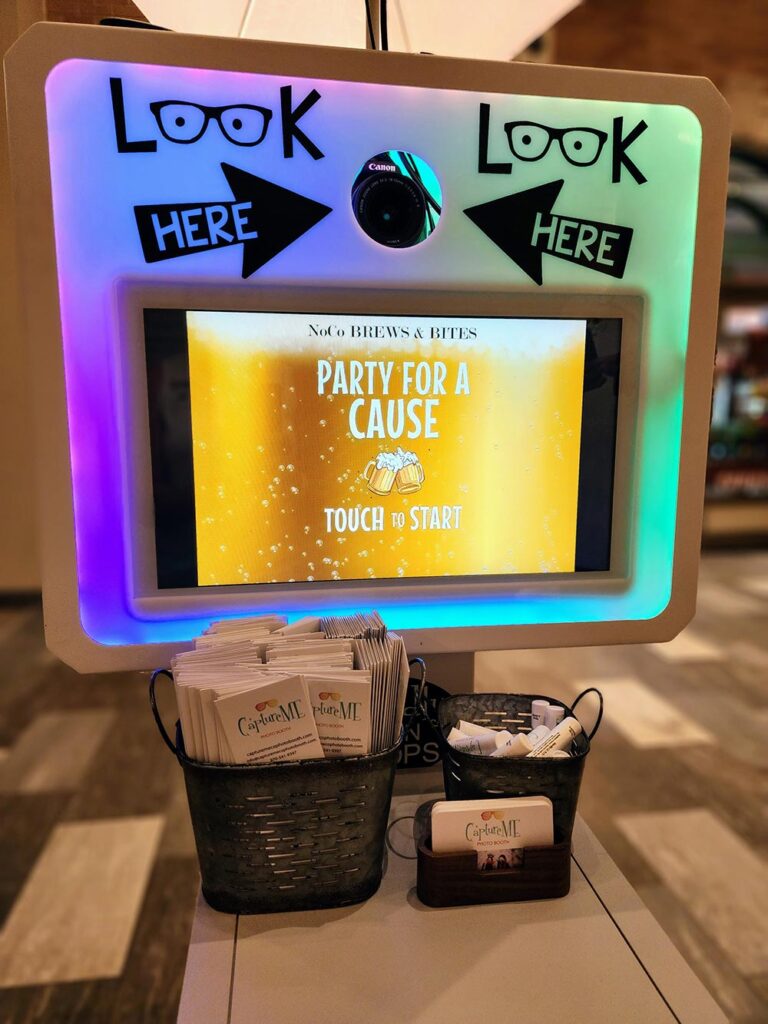
About CaptureME Photo Booth
“Our photo booths are more than just machines – they’re interactive, customizable, and designed to bring people together.” Now THAT’S a statement to stand behind! CaptureME Photo Booth serves select cities in Colorado, including Denver, Fort Collins, Johnstown, Windsor, Greeley, Loveland, and Berthoud.
But this Colorado photo booth company doesn’t just do weddings. They also work birthday parties, corporate events, and any celebration in between.
If you’re in Colorado and looking for a photo booth for your wedding or event, check them out on Instagram or Facebook.
About Studio Style
We help party people get their event pictures home safe and sound. We design and manufacture custom photo folders, paper frames, photo mats, photo cards, and more. We work with party planners, event specialists, photographers, photo booth owners, and more. Learn how we can personalize your party at StudioStyle.com or give us a call at (800) 346-3063.
Hello, there. My name is Amanda, I have worked at Studio Style for almost a year now. I’ve learned a lot since I have joined the Studio Style fam. One thing I have learned is not everyone knows about all our awesome personalization methods. From elegant foil stamped personalization to full-color digital printing, there is a wealth of creative options. I would love to share some knowledge from an official “insider.”
We’re party people here at Studio Style, in the most professional and chic way we can be. We love nothing more than some flashy branded party swag. And personalized photo folders and frames are a great way to remind party guests of the great time they had at your event.
We use a couple methods to help promote brands and adorn our products like foil stamping and high-quality digital printing. Some branding is best suited for one method over the other.
What is Foil Stamping?
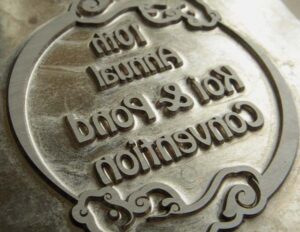
Metal plate for foil stamping
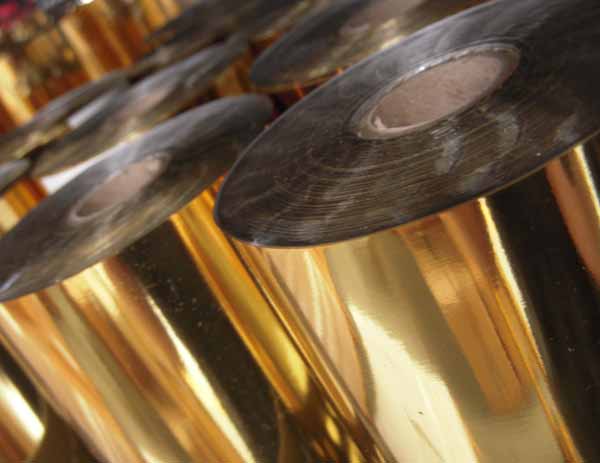
Rolls of metallic foil
Plate + Foil + Heat + Pressure = Foil Stamping
If you like bling, foil stamping is for you. Here’s a quick overview of the foil stamping process:
We convert a digital file of art to a physical die. A foil-stamping die is a metal plate that is etched or engraved into. The metal plate gets placed into a machine that uses heat and pressure to affix the foil to the paper surface of our products.
Since the process can cause some indentation, a heavier paper is ideal. Textured paper such as our linen stock is best for foil stamping (digital printing cannot be done on this paper).
The look of a foil stamped logo gives a polished and classic look.
Important to note: due to the application method, not all artwork transfers well with foil stamping. Artwork for foil-stamping should not contain fine lines, drop shadows, or textures. If they do, full-color printing is the better option. To achieve the best foil imprint, the original artwork needs to be a black and white image. We cover all this and more in a separate post.
No logo? No problem. If you don’t have a logo, you can foil stamp simple text in various fonts for that classic look.
With several metallic and non-metallic foil options to choose from, foil stamping can really make a statement. If your logo or event branding already pops or is super detailed or textured you will want to utilize one of our digitally printed products.
What is Digital Printing?
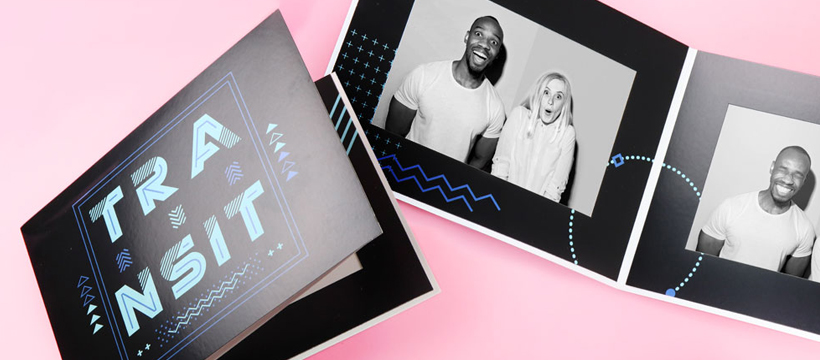
With full-color personalization options, digital printing is an ideal method to personalize your photo folders and frames.
Digital printing starts with a digital file that is rendered by a computer and sent to a printer. The digital printer then uses different kinds of ink or toner to place the image on the paper substrate. Digital printers are even capable of printing on fabric and vinyl surfaces.
If a logo event branding is full color, has a color gradient, or a lot of fine details, printing is the better—and sometimes only—option. Digital printing utilizes CMYK colors which stand for Cyan, Magenta, Yellow and Key, which is black. Different percentages of each of these four colors combined creates different hues of printable pigment.
The great part about digital printing on our photo folders and frames is you are able to fully customize them with your colorful logo or event branding.
The following products are perfect for digital printing:
Our digitally printed folders and frames are perfect for those who have artistic talent and are knowledgeable in Adobe Photoshop or Illustrator. We offer templates for our custom folders and frames in PDF form so you can design your own.
We also have 100+ stock designs in various themes that you can customize. Even if you’re not an artistic person, give us your ideas and we can create a folder or frame for you.
If you have any questions, please reach out to our team at (800) 346-3063 or send us an email. We’re always happy to help!
Whether or not you’re planning a St. Patrick’s Day Party, we thought it might be fun to do a quick history lesson on this global celebration. Let’s find out why we celebrate this historic holiday.
Here we go!
The quick history of St. Patrick’s Day
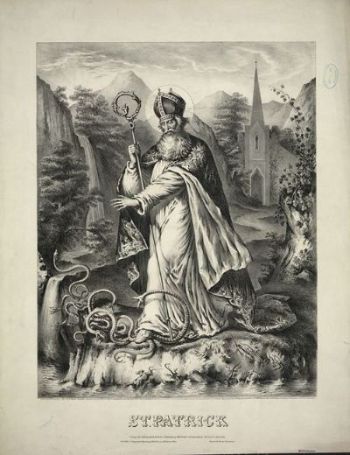
Though he is a patron saint of Ireland, Saint Patrick wasn’t born there; he was born in Britain in 385 AD. At 16, he was kidnapped by Irish raiders.
Saint Patrick, chasing out the snakes (an allegory for when he converted the pagan Irish to Christianity).
Born the son of a deacon and grandson of a priest, Saint Patrick was forced to work as a shepherd in Ireland for siz years. He escaped from slavery, but eventually returned to Ireland, bringing Christianity with him.
So why do we party on celebrate this day?
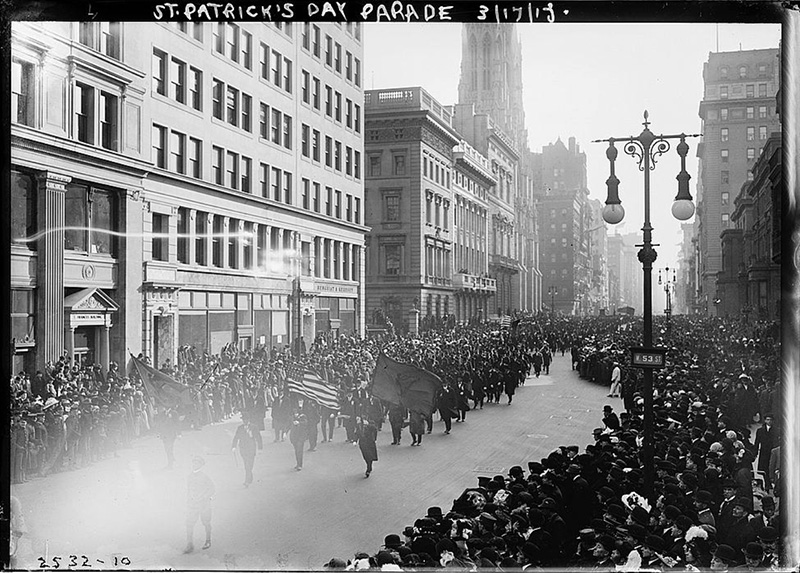
Though it began as a religious holiday, this day is now a global celebration of Irish culture and heritage. In fact, St. Patrick’s Day is celebrated in more countries than any other national festival!
St. Patrick’s Day has always boasted big parades. Here’s a parade, circa 1910-1915.
But why is drinking associated with St. Patrick’s Day?
Simple: the Lenten restriction on alcohol is lifted for that day.
Erin go Bragh!
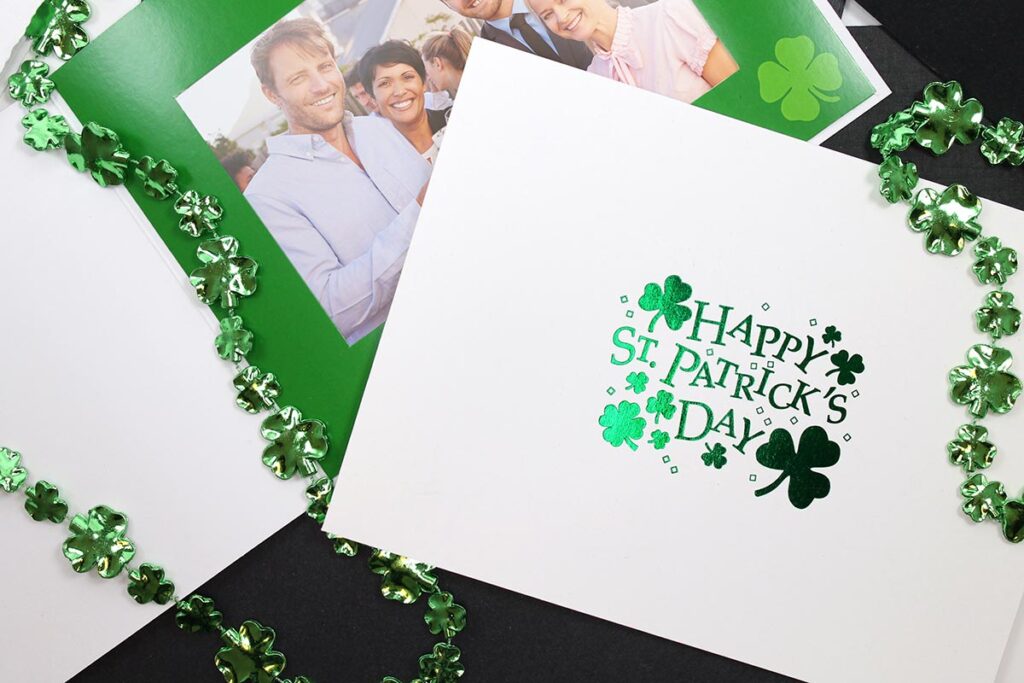
Looking for St. Patrick’s Day frames or greeting cards?
Hi! We’re Studio Style, and we help party people get their picture home, safe and sound. We work with event planners, photographers, photo booth owners, and all sorts of party people to create memorable party favors to frame and protect event pictures.
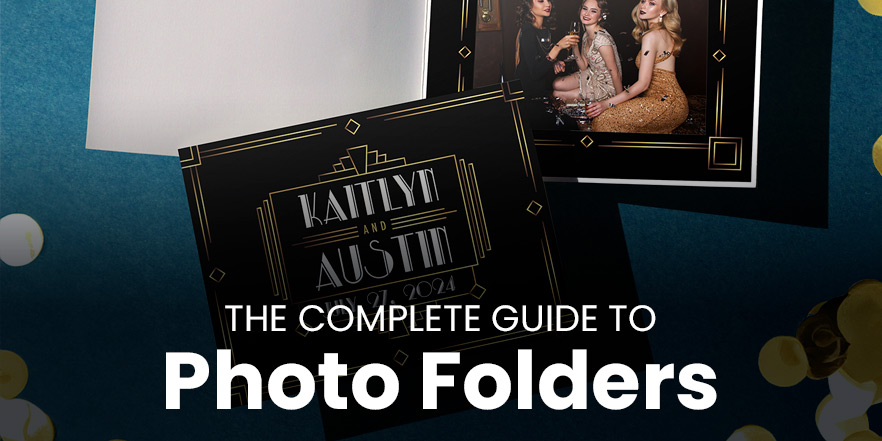
Hi! We’re Studio Style, and we specialize in personalized photo folders for framing event photos, photo booth prints, studio portraits, and party pictures.
If you’ve never used—or heard of—a photo folder before, we’re here to help. Let’s walk through what it is, how to use it, and how your event or company can benefit from using them.
Let’s go!
What is a photo folder?
A photo folder is a paper frame with a cover that folds over to protect the picture inside. They are available in all standard photo sizes including 4″ x 6″, 5″ x 7″, and 8″ x 10″, or we can make something completely custom.
Here are just some of the ways that photographers and event planners use photo event folders:
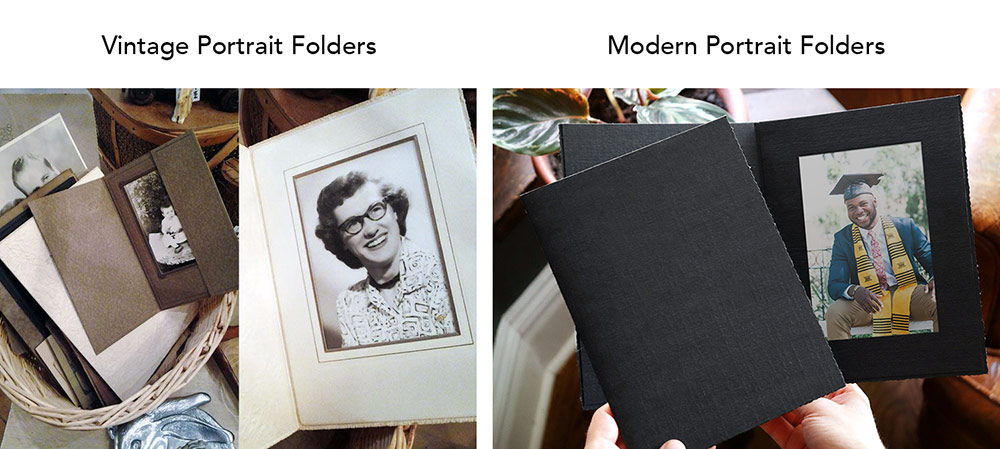
Our paper photo holders are made from smooth cardstock or heavier cardboard papers (sometimes called paperboard). They are similar in style and design to vintage-style portrait folios (which are sometimes called bi-fold paper picture frames). Our portrait folders feature a textured, linen-weave finish.
Think of these paper portrait folders as the modern version of the folders you would find your grandparents’ or great grandparents’ portraits in.
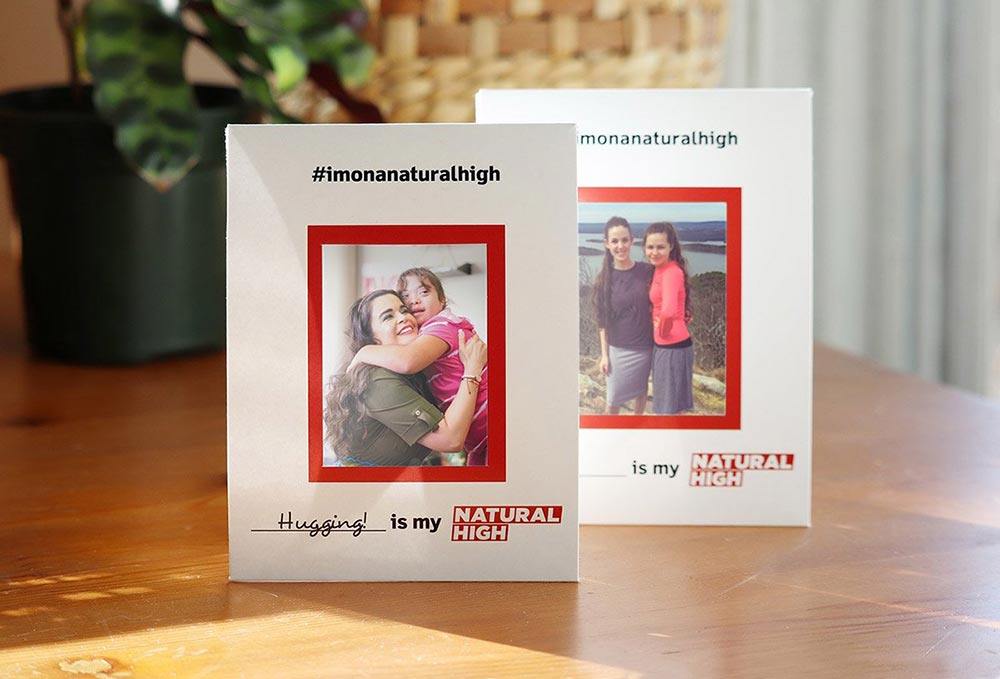
Cardboard photo folders are memorable guest favors.
Whether you order blank or personalize with your logo or branding, these cardboard folders for pictures protect event photos—and create a lasting impression.
Here’s why:
The folder protects the picture, preserving the memory. The front flap covers the photo, protecting it from dust, fading, and fingerprints. Yet, you can display the photo in the folder.
If you add the event name or branding, people are more likely to remember the event. It’s funny how a logo can jog memories, but it does! To boost the memorability, add something interactive, like an event hashtag or fill-in-the-blank area.
We often hear people tell us they still have their folders or paper frames, even years after the event. You see, we make all of our cardboard picture frames, portrait folders, and photo cards in our St. Charles, IL facility—and we have designed them to last.
Slip-in folders work for any budget.
Cheap photo frame folders of high quality can be hard to come by. But our customers are thrilled with the quality they get for the price. See what our customers have to say.
Photo frame folders increase brand awareness.
Whether you’re adding just the event logo or are creating a custom cardboard picture folder, personalized folders enforce your company’s image or event branding.
Personalize your photo display folders with custom branding.
Our portrait folders are available with printed or foil stamped personalization. Most styles are available in horizontal (landscape) or vertical (portrait) format. Can’t decide which folders you need? We’re happy to help.
Small event? No problem. Get low minimums on photo event folders.
We offer no minimums on many products, including some of our themed photo frame folders. Need bulk photo holders? No problem! Bulk pricing is shown online for applicable products. You can order online or call and speak with our team: (800) 346-3063.
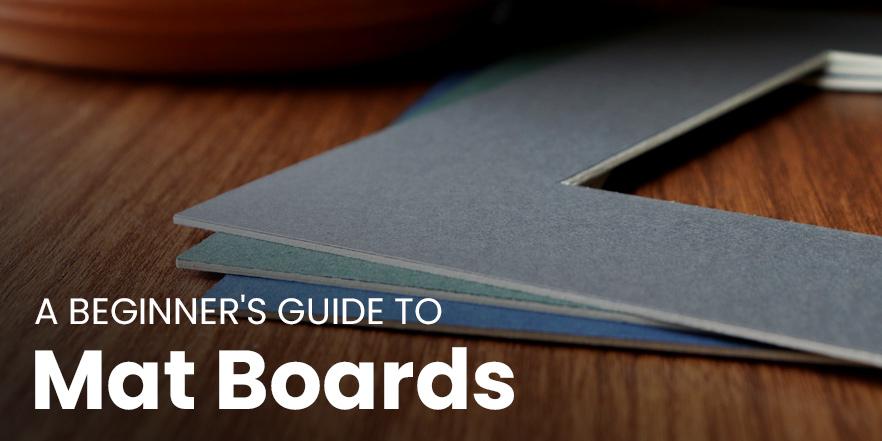
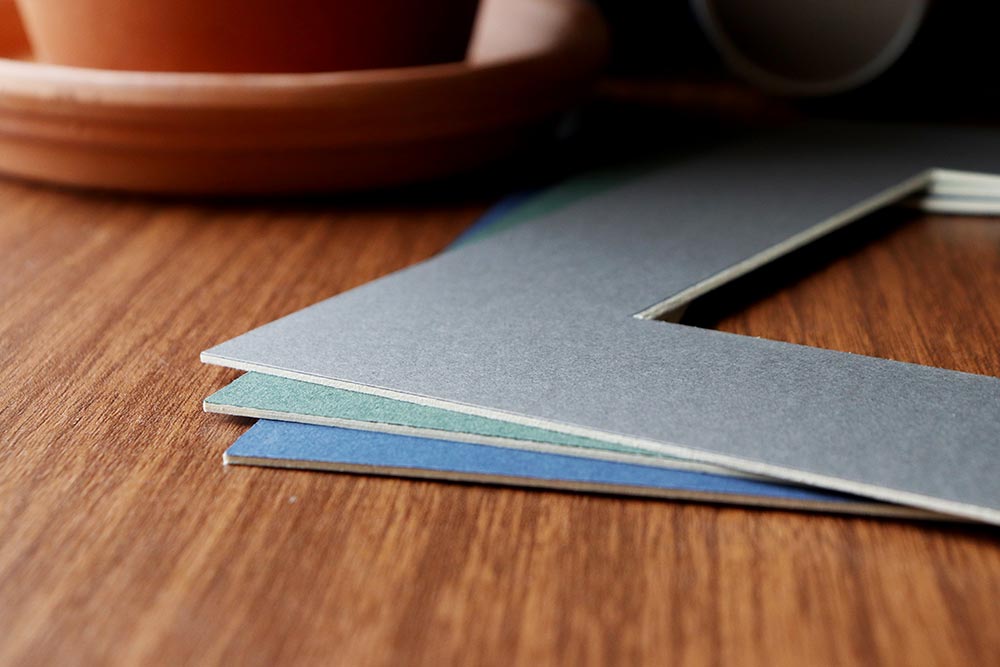
A mat board is a thick layer of a cardboard-like material that is used to protect your photo or artwork in a frame. Mats are typically made from either pressed wood or cotton pulp.
The mat board material serves as a protective barrier between the glass or acrylic in a frame and the surface of your artwork/photograph.
For example, if moisture seeps into a frame and there’s no protective barrier (mat board), it can be disastrous. Over time, moisture can cause the artwork to stick to the glass or acrylic, which will eventually destroy the photograph or art piece. Having a mat board as a barrier protects your photo or artwork from the glass or acrylic.
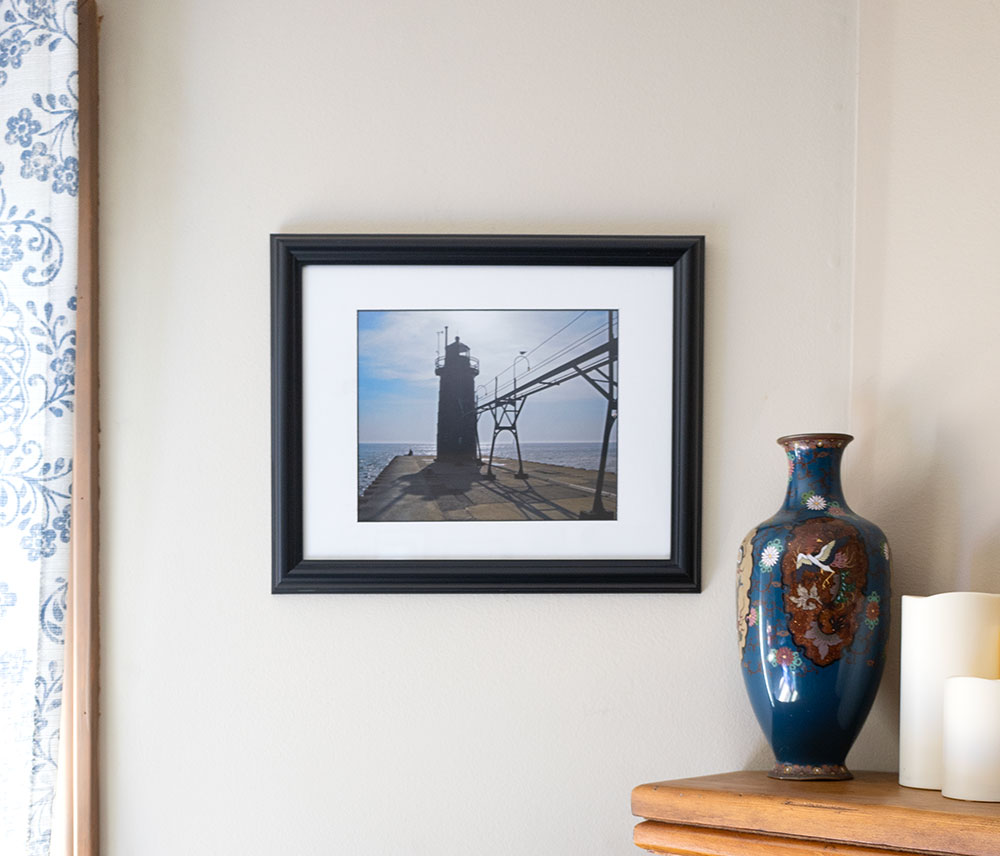
But mats are not only used for protection of an art piece; they’re also a decorative border around your photo or art print. The mat breaks up the spatial continuity of a complete framed piece. It can be used to lead a viewer’s eye to the art/photograph by bordering it with negative space. It also gives the artwork a finished look.
Is mat board acid free?
Not all mat boards are acid free—but many are. Mat board quality depends on the material it’s made from.
There are three classes of mat board: decorative, conservation, and archival. Both decorative and conservation mat boards are made of pressed wood pulp and are made to be either acid neutral or acid free.
Decorative mat boards are acid neutral. The wood pulp is treated with calcium carbonate which neutralizes the acid and lignin that naturally occur in wood pulp.
Conservation mat boards are made of wood pulp where the acid and lignin are removed from the material.
Archival mat boards are usually made of cotton pulp which naturally does not contain either acid or lignin
Our mat boards are in the decorative class and are therefore acid neutralized (not acid free). They’re made out of wood pulp that’s treated to protect the board for degradation of the acid and lignin. So if you’re looking for a mat to protect your photos or art—but not necessarily preserve them for a lifetime—our framing mats will work great for you.
Is mat board the same as mount board?
No. Mat board serves as a layer between your photograph and the glass or acrylic cover. Mount board is for support under your photograph or artwork and serves as a stiff backing to assist in sturdiness.
How to frame with mat board?
First, determine the photo or print size you’re going to frame. That’s the inner size of your mat. Then, decide what size frame you want, and that’s the outer size.
For example, if your photo is 8″ x 10″, you’ll want a mat that is larger than that opening. An 11″ x 14″-sized mat board with an 8″ x 10″ would accommodate your photo beautifully.
Mat board size also depends on preference. How much negative (border) space do you want around your photo? Do you want a thick border or a thin border? Once you choose your image and mat board size then you’ll want to choose a frame that accommodates the size of the mat board’s outer edges.
Once you have your art or photo, the mat board, and frame then it’s time to assemble your finished piece!
Is mat board recyclable?
Yes. Mat boards made out of wood or cotton pulp are recyclable.
Mat Board vs. Chipboard/Cardboard
Chipboard is a thinner board made of wood pulp and/or recycled products. It’s also sometimes known as paperboard. Chipboard varies in size and thickness and is sometimes used as a backer board for photographs and artwork.
Chipboard is normally not “acid free” or “acid neutral”. Sometimes the board is covered in acid free paper that will help protect your artwork. However, this type of product is not considered “museum” or “archival” quality.
Cardboard is often made of several layers, and it’s usually thicker and sturdier than chipboard. Cardboard can come in many forms. The most common type is corrugated cardboard (what’s used for to make shipping boxes), which is made of two layers of heavy paper called liners, with a middle layer of paper folded like an accordion. The accordion is glued to the two outer layers. Corrugated cardboard is not usually acid free. It can be covered with an acid free paper to protect artwork for a limited amount of time.
Mat board is made from either wood pulp or cotton pulp; cotton pulp provides the most long-term protection. Mats are often labeled as “acid free” when they are actually “acid neutral.” Since wood pulp naturally contains acid and lignin, a chemical is added to wood pulp boards to neutralize the acid. Cotton pulp is naturally acid- and lignin-free so these types of mat boards are used for archival purposes.
Standard Mat Board Dimensions
Standard mat board sizes are typically the same size as standard photograph sizes:
5″ x 7″
8″ x 10″
11″ x 14″
16″ x 20″
20″ x 24″
But mat boards are not constrained to these sizes. Professional framers and some mat board vendors can cut a mat board to a custom size. Need a custom-sized mat board? We sell mat boards cut to size.
What are some mat board uses?
Mat boards can be used to protect and display your:
Artwork
Photographs
Certificates, Awards & Diplomas
Posters
Sports Memorabilia
Can text or logos be added to mat board?
Yes! You can personalize decorative mat boards. At Studio Style we can foil stamp text, logos, monograms, or even a special message on a mat board. Learn more about our personalized photo mats or give us a call at (800) 346-3063.