If you have a vacation planned and you want to take some awesome landscape shots of your exotic (or not so exotic) vacation spot, we have some tips for you.
You don’t need to be a professional photographer or have a fancy camera to take great photos. Most times, a great image comes down to how it was composed. We’ve compiled some helpful landscape photography composition tips for you to reference during your next scenic trip.
Landscape photography is generally defined as images of a natural scene. A landscape photo can be of an ocean, a field, mountains, rivers, or basically any place found in nature.
First, some technical advice for taking landscape pictures
When you find yourself out in the world—either on vacation, hiking, or even a walk around town—you may find an exciting and beautiful view that you want share with others. If you don’t have a “fancy camera,” no worries! You can shoot landscape photography using your phone. With most phone cameras, you’re unable to change your aperture; the phone will set it for you.
And if you do shoot with a DLSR or mirrorless camera, stay tuned! This article is about photo composition; we’ll leave the technical camera aspects for another blog post. But a few basics:
- When shooting a landscape, you generally want all the components in the photo to be in focus.
- If you have a DSLR or a mirrorless camera with manual setting capabilities, think about the camera settings before you start shooting. If you’re not a professional photographer and don’t have a camera with manual mode, you can still shoot unforgettable landscape photos using your phone or point and shoot camera.
- For shooting landscape photography, a smaller aperture (f/11 or smaller) is better. This allows you to have a larger depth of field; more of the scene will be in focus regardless of how close or far the objects are in your image.
We’ve put together a few easy-to-follow tips for better landscape photography. Follow these tips so you can take a unique image that doesn’t look like every other photo that you see on social media.
Instead of just whipping out your phone or camera and snapping a quick photo, pause and think of this:
How do you want your viewer’s eyes to navigate the photo?
A landscape photograph should be visually appealing and keep your viewer’s attention. This is why the composition of your image is so important. You want your viewer’s eyes to be able to explore your image easily and keep the viewer intrigued. Composition tools can help show the viewer’s eyes “the way” to navigate the photo.
Let’s talk about the following simple composition tools that will help you compose your next image:
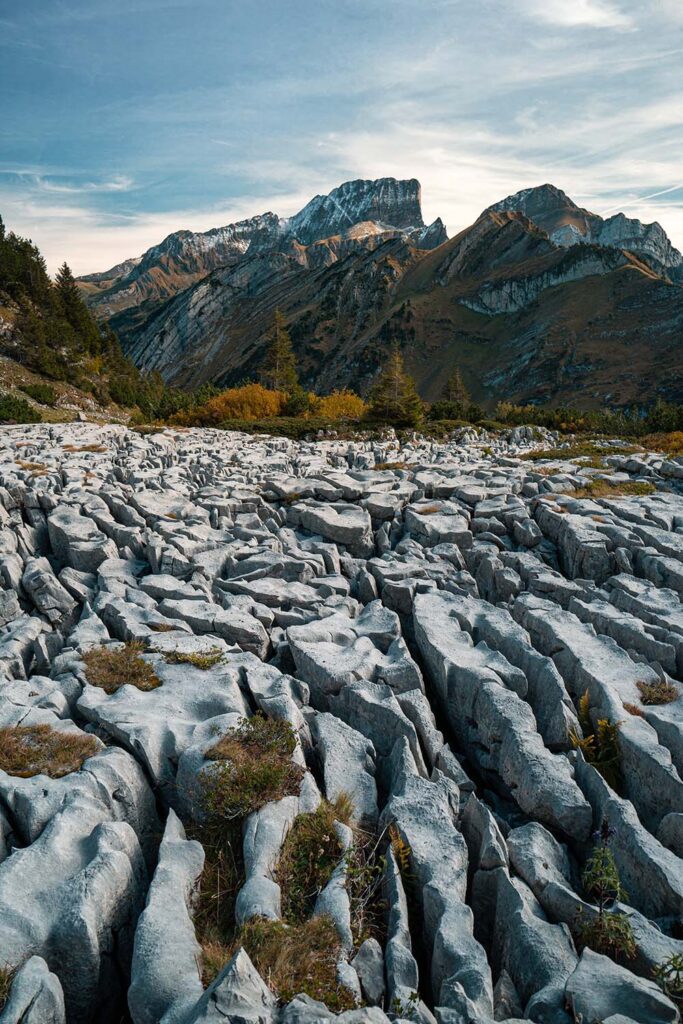
Look for Leading Lines
Finding “leading lines” in a scene can help compose an interesting photo and allow your eyes to have a clear path throughout your photo. Leading lines don’t have to be literal lines, but rather a change in the topography. Leading lines can also be actual lines, such as a road or a railroad track that navigates your eyes into the photo.
See the cracks in the foreground of this image. The cracks create lines for your eyes to follow up to the mountains, through the rest of the image.
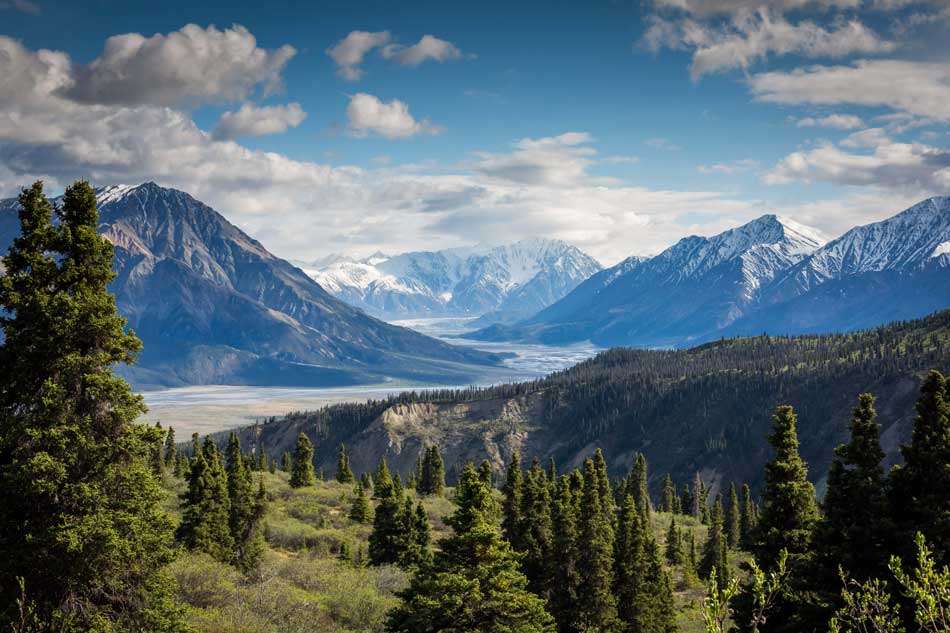
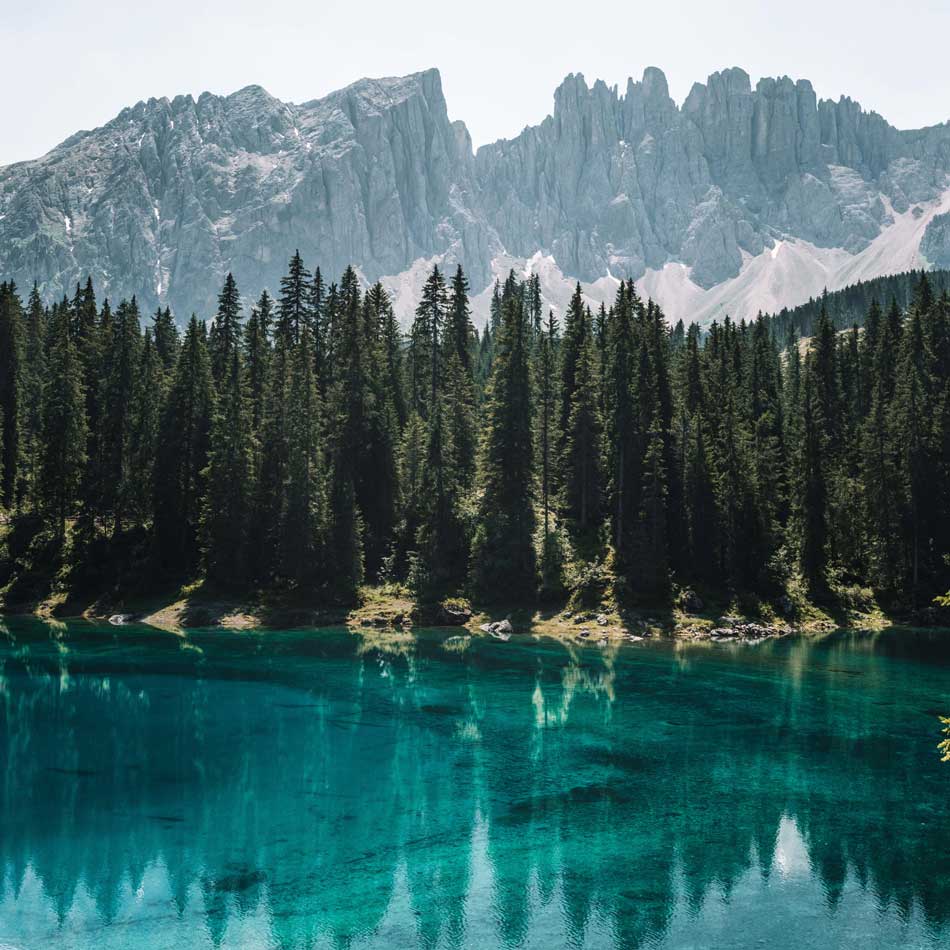
Include a Foreground, Middle Ground, and Background
Another composition tool in landscape photography is including a foreground, middle-middle ground and background in your photo.
Take a look at the image below. This composition tool helps breaks up the visual texture of the image and gives the viewer’s eyes some variety. The water is the foreground, the trees being the middle ground, and the background being the mountains and sky. This breaks up the image into three parts, giving the photo more visual variety.
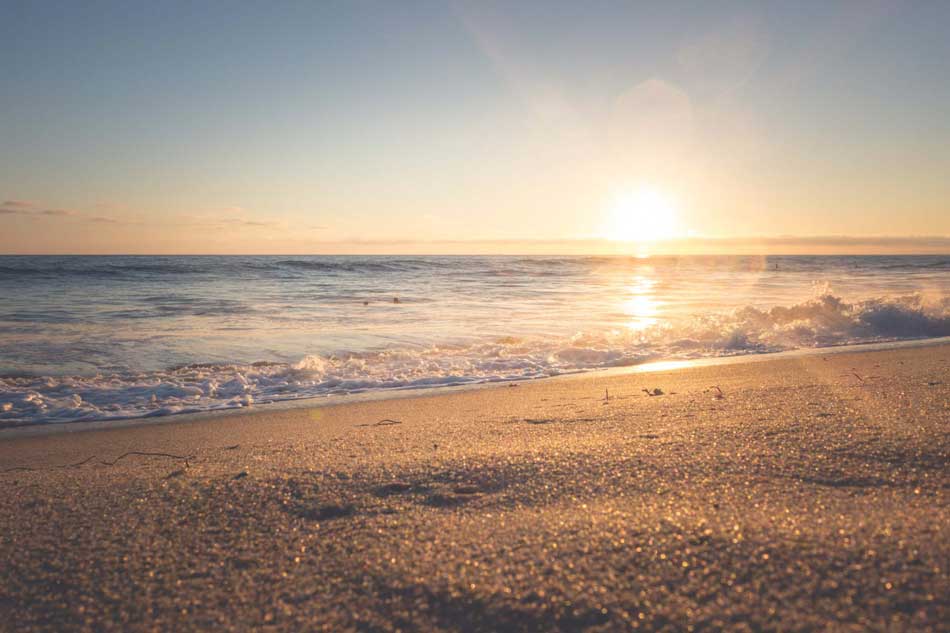
Keep Your Horizon Level!
A quick way to ruin a landscape photo is having a crooked horizon. The horizon isn’t crooked in real life, so it shouldn’t be crooked in your landscape shot.
If you cant get the image level at the time of shooting it, fix it after by rotating your image using the crop tool in most photo editing apps.
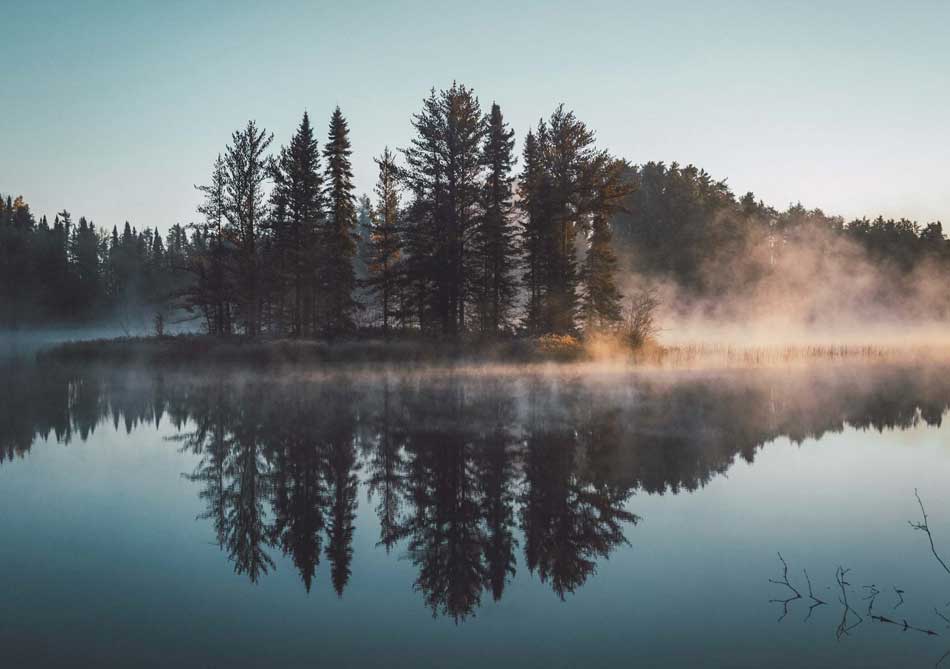
Use Reflections for Symmetry
Reflections can help create a symmetrical composition in an image. These types of images can be taken near ponds, lakes, and even the ocean if it’s calm enough.
The best time to take reflection photos is when the wind is calm. Keep the horizon of the body of water straight in your frame. You may need to move your camera higher or lower depending on how you want your subject reflected in the water.
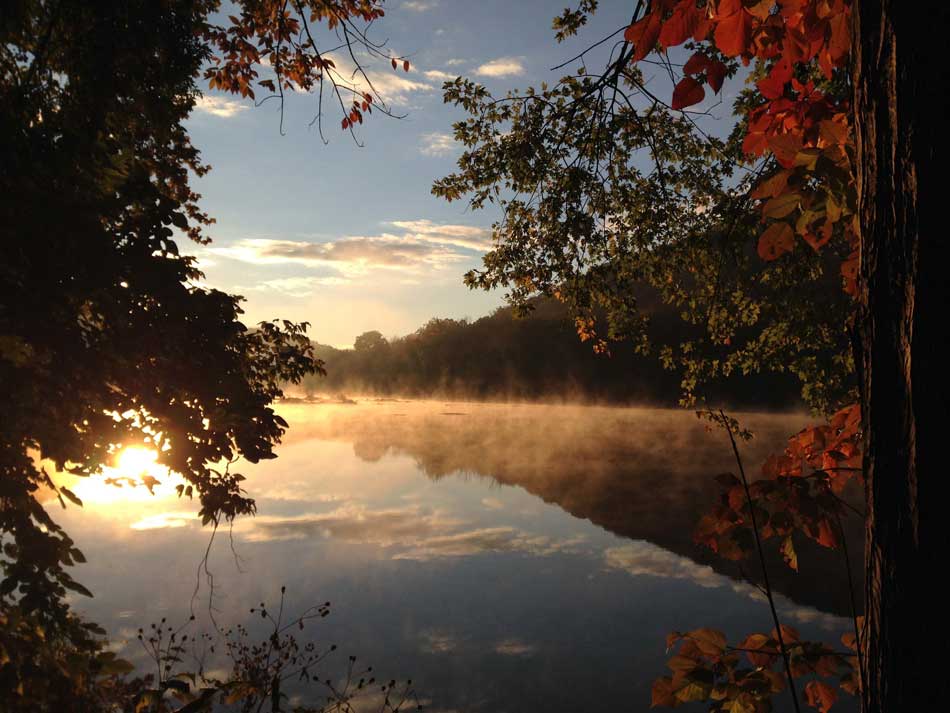
Create Interest with Natural Framing
Find elements in your scene that can create a natural frame in your image. Trees, rocks, and flowers can all be used to frame your image. The frame element can be on top, bottom, or on the sides of the image. It doesn’t necessarily have to be confined to around the outside of the image or on more than one side of the image.
Sharing Your Landscape Images
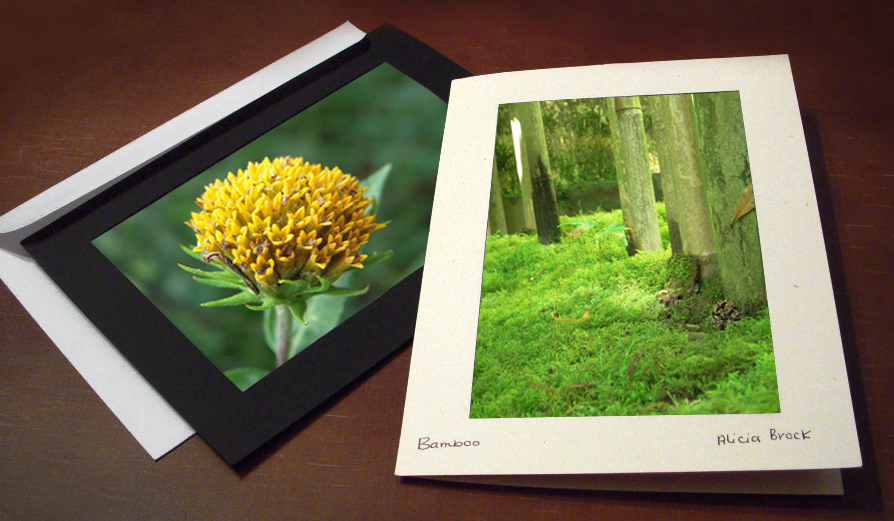
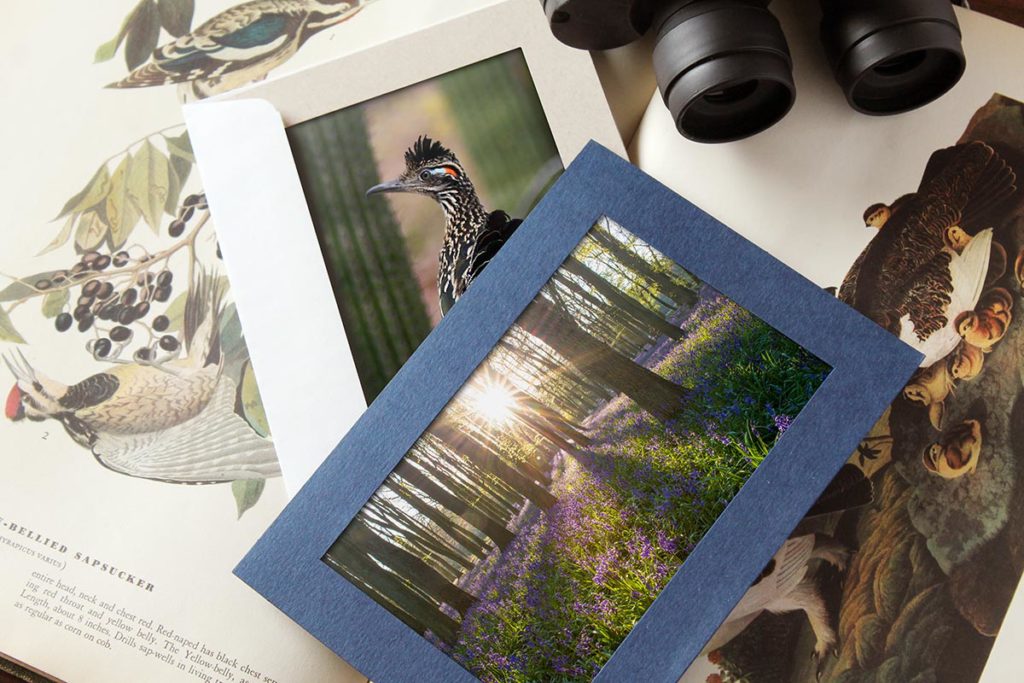
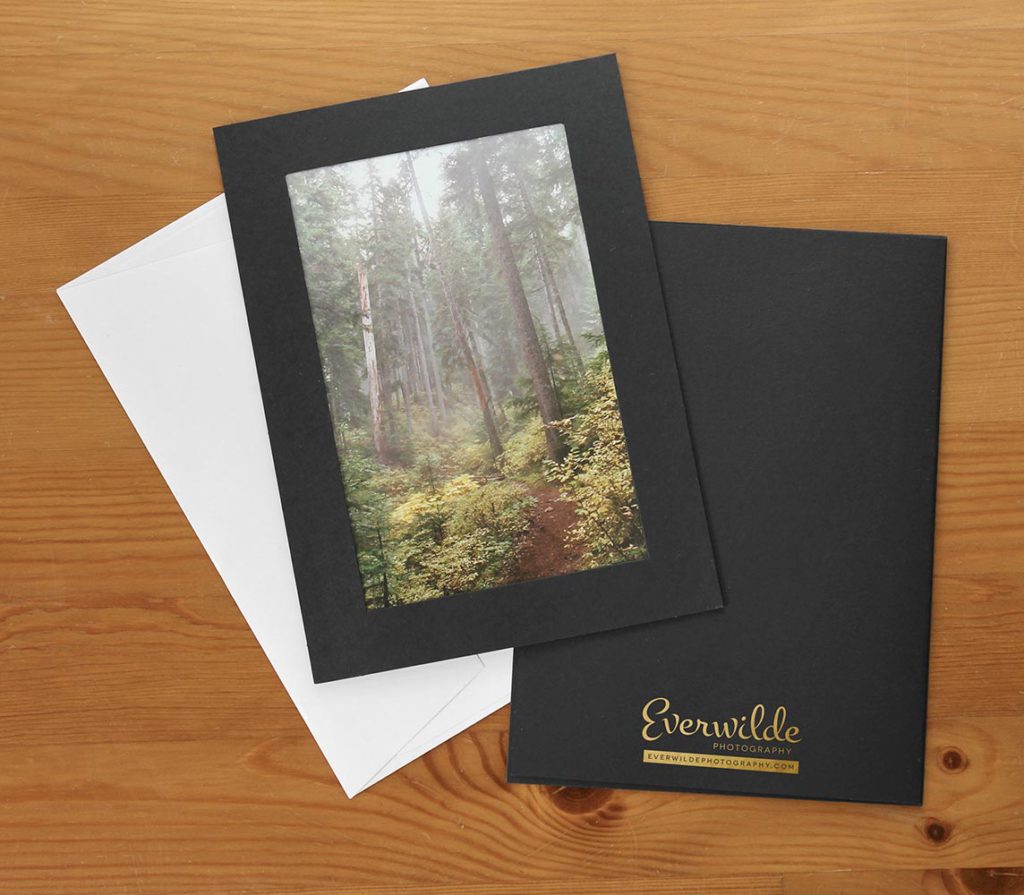
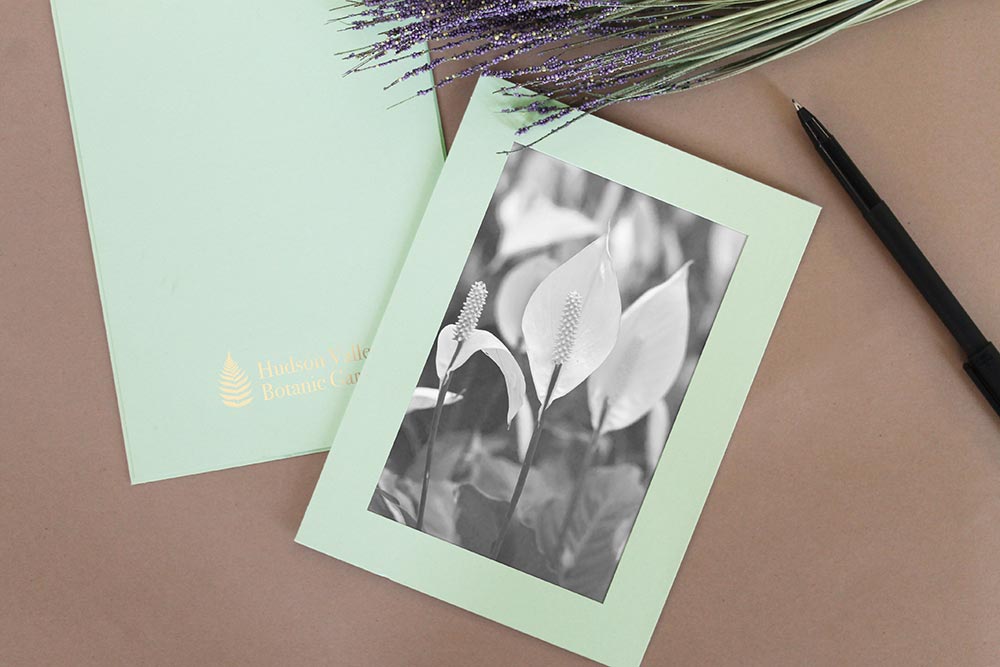
So you followed these tips and have captured yourself some really great shots. Now what? You should share them! Share them on social media, email them to family, or print them.
Now that you’ve printed them, share those prints. Send Granny one of those awesome photos you took. Is it Uncle Stu’s birthday? Send him one of your images in a photo card with a personalized message. Or if you want to make some money from your photos, learn how to sell your nature photography.
Get out there, create something beautiful.
Leave a Comment