You want to take the best family Christmas card photo, but you’re not a professional photographer, and you don’t know what kind of backdrop to use. You got this! With a little creativity, you can make just about any location work.
Check out this list of creative Christmas card photo location ideas. And we have ideas for everyone, whether you live in an urban, suburban, or rural area.
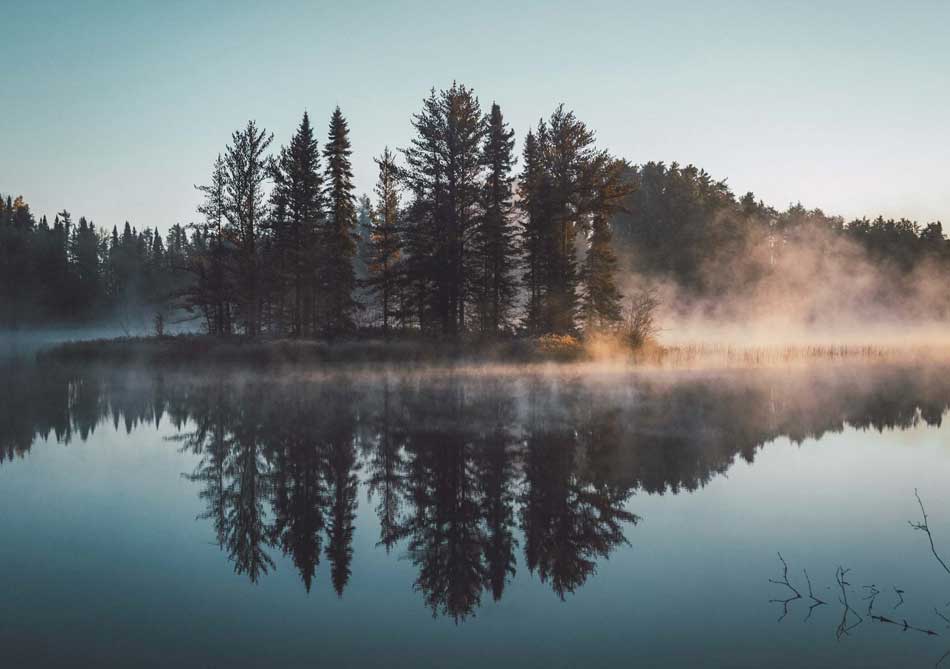
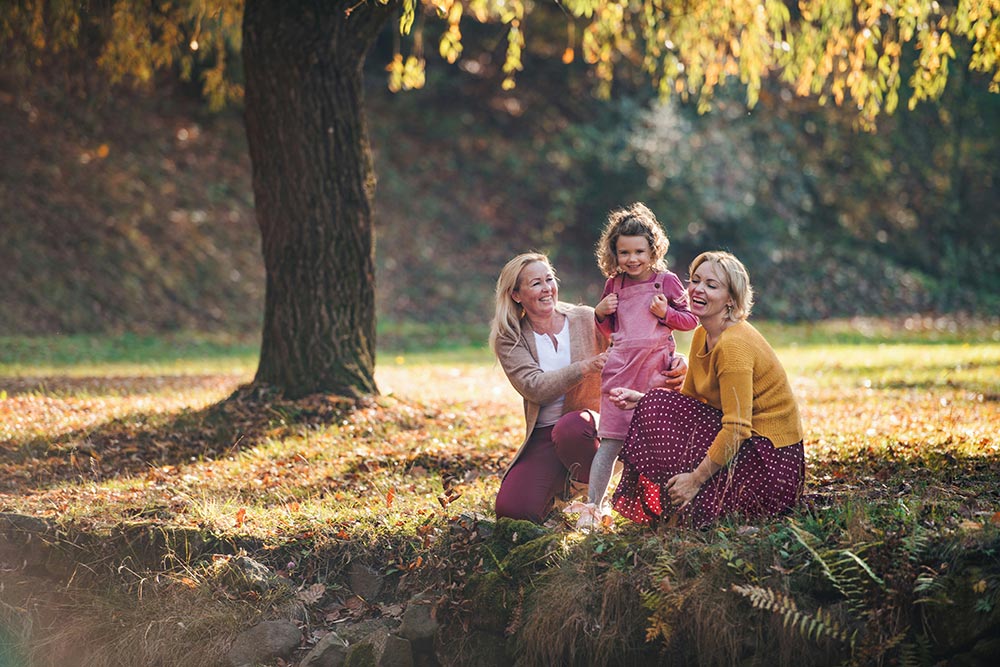
Local park, forest preserve, or natural area
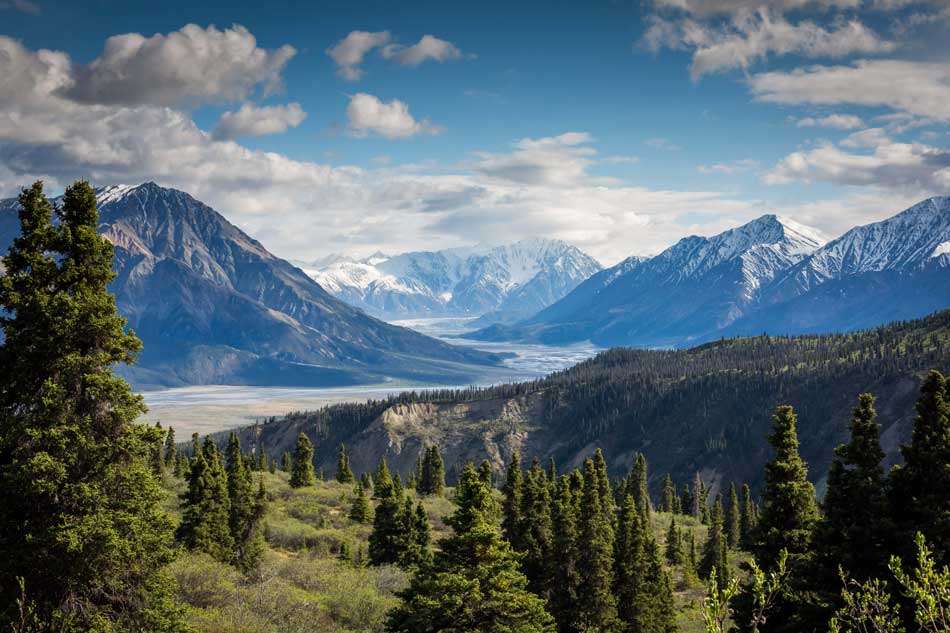
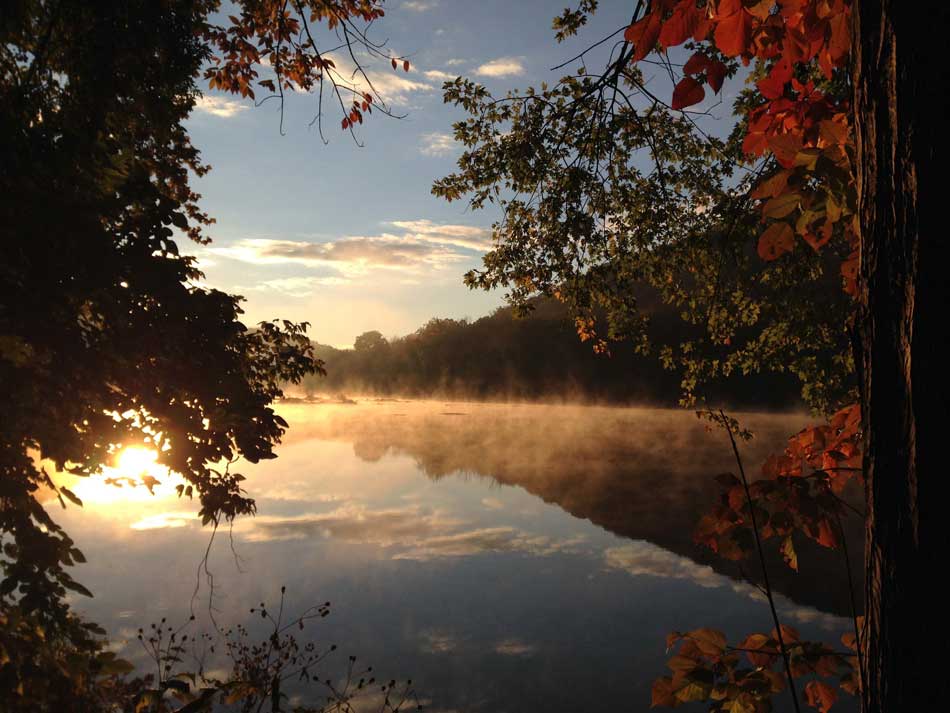
When you get out into nature—no matter the time of year—background ideas abound. Go in summer when the prairie is full of flowers, in fall when the leaves are turning the brilliant autumnal hues, or in winter as the snow begins to fall.
A few factors to look for:
- Find a consistent background. All trees, all shrubs, or all flowers. A busy background takes the focus away from you.
- Watch the tree trunks! When composing the group photo, make sure it doesn’t look like a tree is coming out of someone’s head.
- Be mindful of sunlight. Midday on a sunny day isn’t the best time to take portraits. The best lighting—for any type of camera—is in a shaded area where the light is even, and no one is left squinting in the sun.
Please keep these things in mind if taking a family Christmas photo in nature:
- Stay on trails and grassy areas. Landscapers and land managers work hard to maintain these spaces. Whether it’s an ornately-designed park or a wild space, be mindful of where you step.
- Watch out for the little critters. In many areas of the U.S., ticks are present until it snows or gets really cold, so be sure to wear bug spray if needed, and check after the photo shoot to make sure no unwanted visitors came home with you.
Find a wall
Brick, wood, a colorful painted mural. Your family can lean against the wall, or have it in the background. If it’s in the background, use the portrait setting or larger aperture to blur the background a bit.
Consider a wall at your home first, then look at public places. Be considerate of private property; if it’s a business, just ask! They might be willing to let you take your holiday card photos at their location, especially if you tag them on social media if you share your photo.

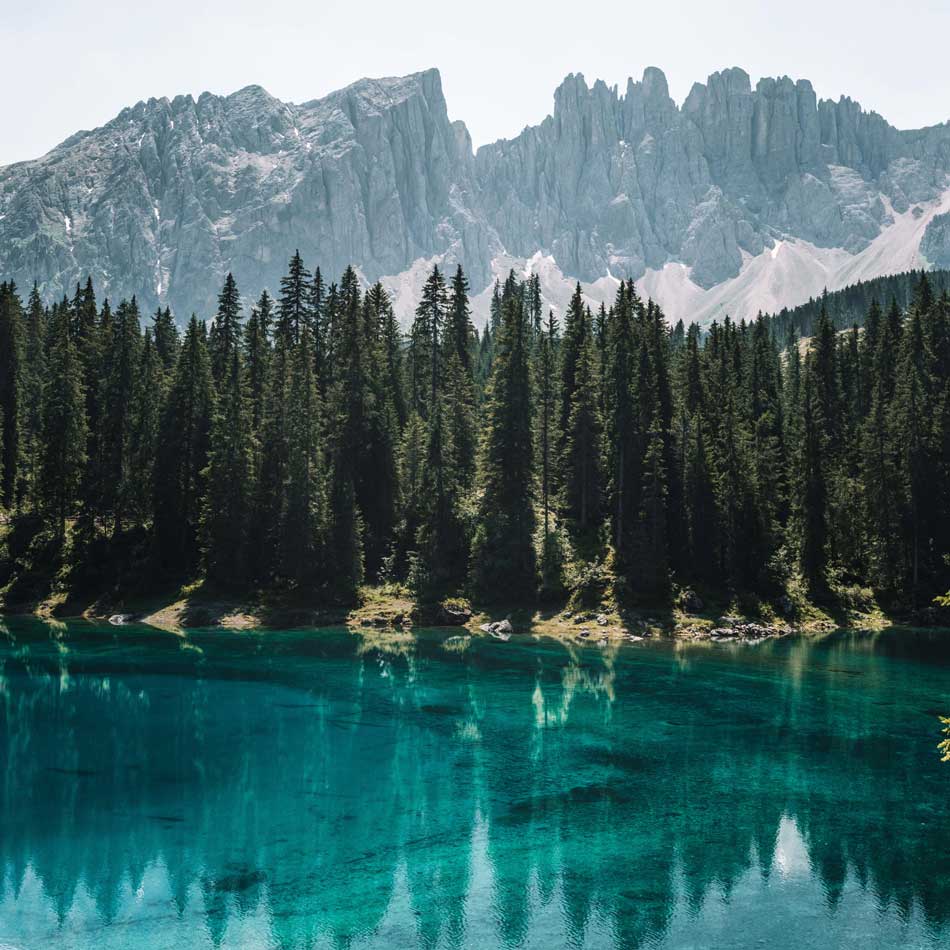
Evergreen trees
A row or grouping of evergreen trees provide a subtle texture in the background, a pop of color, and a hint of Christmas—even if there isn’t any snow on them.
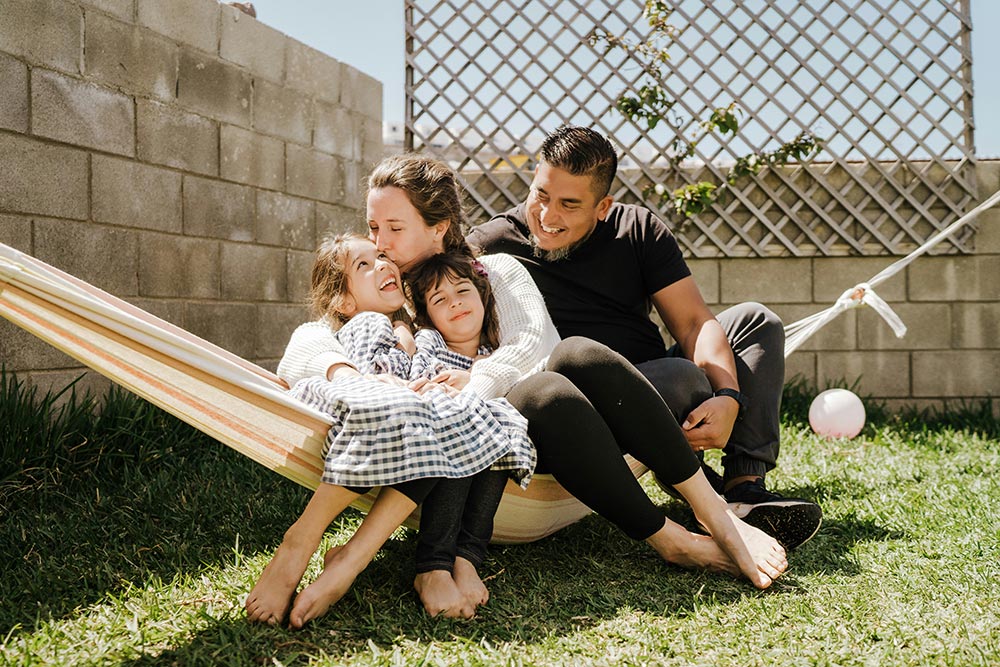
At your home—with or without Christmas decorations
You don’t have to clean your entire house for this! Just the one area for your portrait. You can all sit on the couch, stand on the porch, in the backyard, or in the middle of the living room. Adding Christmas decorations is entirely optional!
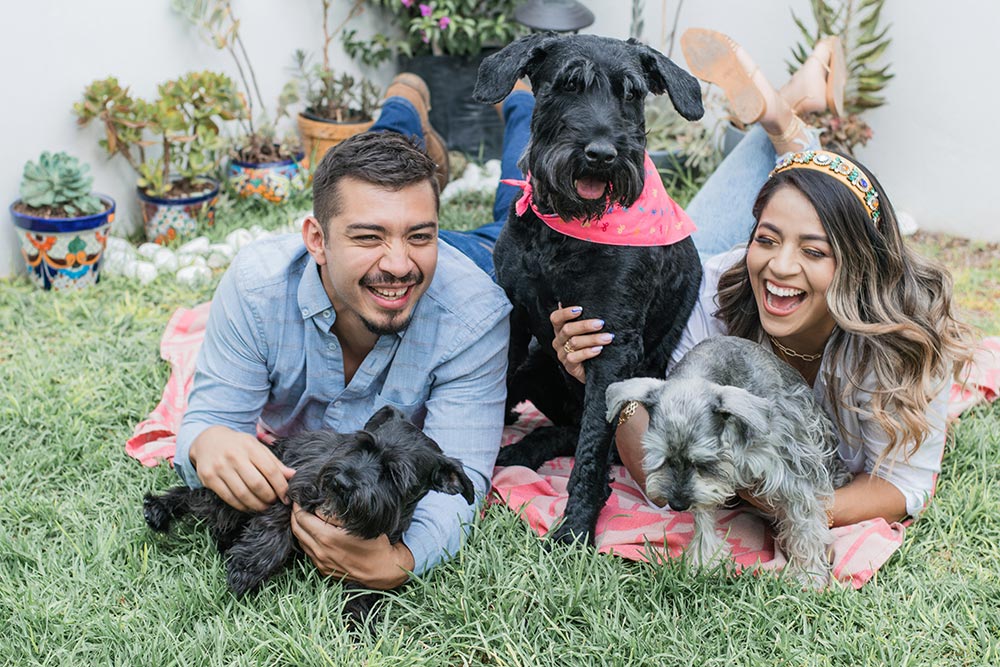
With animals
If you have a dog, cat, bird, lizard, or even some fish, include them in the picture! You can get a nice, posed family portrait for your Christmas cards, or be a bit goofy. Get some candid shots of the dog being goofy, the lizard wearing a little hat, or your bird enthusiastically flapping its wings.
If you don’t have animals—but want some in your Christmas card picture—you have options! Here are some ideas:
- Go to the zoo. Get your favorite animal in the background.
- Petting zoos for a more intimate shot. Buy a small bag of feed for the goats and get ready to smile!
- Go to a pond, get some ducks or geese in the background. Just let them do their thing, they’ll just happily paddle in the background while you smile and say cheese. But please don’t feed them bread.
- Know a farmer? Ask them to borrow their cows. Ok, so not really borrow, but have them in the background of your image. This is perfect whether you live in a rural area or are just passing through. You can find farms like this through social media, on a list of CSAs (Community Supported Agriculture), or even as a tourist destination.
At a party, celebration, or family event
If you want a formal photo, have someone take your picture at a wedding when you’re all dressed up. If you want something more casual, consider a birthday party or summer picnic. Any event will do. Just get the picture before the kids run around too much! Thanksgiving is an ideal time to snap a nice family portrait.
Where do you take family photos for Christmas cards?
We’d love to hear where you’ve taken your photos for family Christmas cards. Someplace weird, wonderful, or creative! Feel free to share what you’ve done below.
Hi, we’re Studio Style! We design and manufacture photo insert cards, custom photo folders, paper and cardboard picture frames, cello bags, and more. We work with professional photographers, event planners, party pros, and, well, people who like to take pictures! Check out our photo framing solutions at StudioStyle.com or give us a call at (800) 346-3063.
1 Comment