Night photography has many unique perks and is an incredibly fun and creative outlet.
But… it also has its challenges.
Taking photos at night is completely different than taking photos during the day. Let’s start with the main source of light for daytime photos: the sun! At night, you lose that important light source, instead relying on ambient light or additional artificial light.
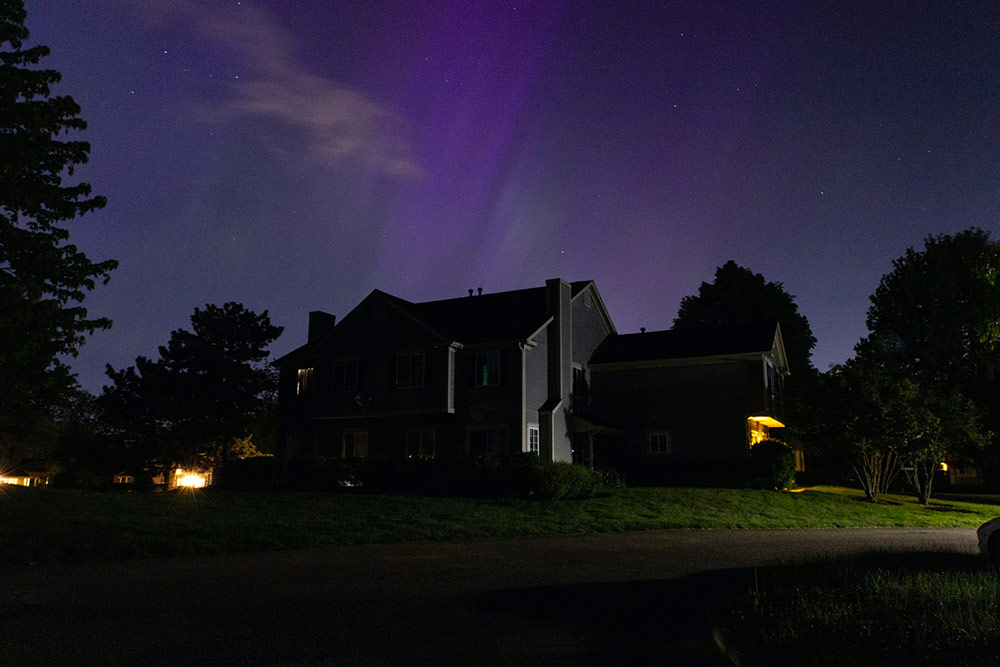
Here’s the cool thing: night photography provides the photographer and the viewer with another perspective of a scene they don’t get during the day. For example, thunderstorms, meteors, northern lights, and fireworks, are much more brilliant—or just plain more visible—during the evening hours.
If you’re interested in adventuring outside with your camera at night, we’ve compiled some night photography tips that will help make your evening photo shoot a successful one.
Recommended Equipment for Night Photography
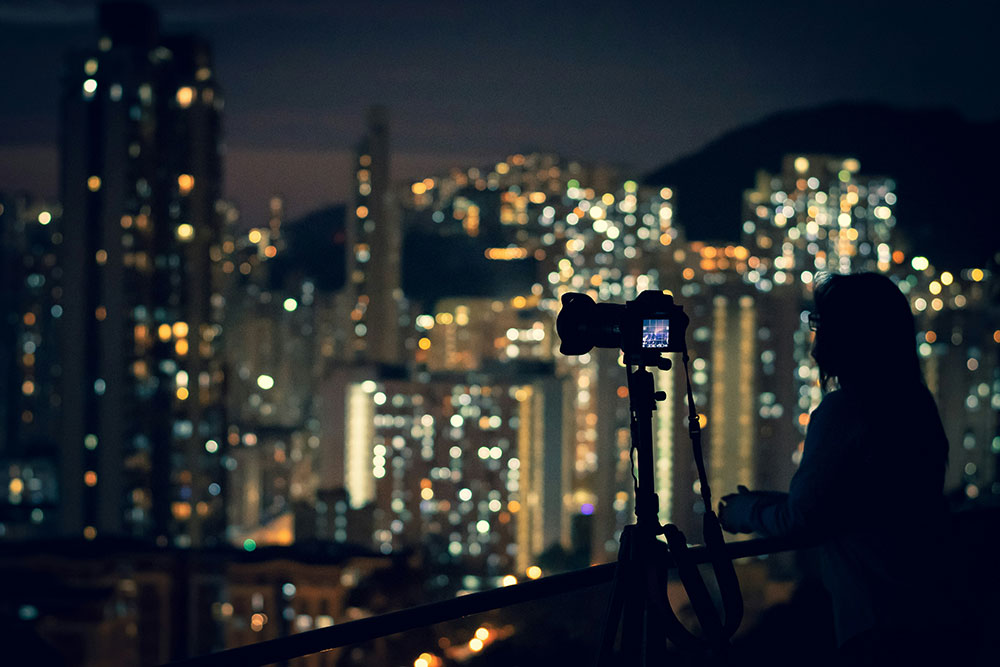
First, let’s talk about your tools. The equipment listed below is immensely helpful in night photography.
If you’re serious about taking photos at night, you’ll want to consider investing in these pieces. Some of these are must haves (camera, tripod, and remote shutter release), some will just make your life a little easier:
- DSLR or Mirrorless Camera
- Tripod
- Remote Shutter Release (aka Remote Trigger)
- Extra Camera Batteries
- Flashlight
- Lens Hood
DSLR or Mirrorless Camera
The first item is the most obvious. But it’s important that you have the right kind of camera.
When shooting at night, you’ll want to manually change your aperture, shutter speed, and ISO. It’s important to have a DSLR or a mirrorless camera so that you’re able to adjust these settings. “Point and shoot” cameras and smart phone cameras may have a lot of megapixels that allow you to take great photos during the day, but you can’t fully customize your settings.
Although most smart phones have a “night mode” or the option to change your aperture, it’s not the same; this is a digital version. Much like digital zoom can’t beat an optical zoom lens, a digital aperture adjustment isn’t the same as an optical aperture adjustment.
Tripod
A tripod is necessary in certain situations like long exposure photography. But not all-night photography is long exposure photography. If you have a lens that opens wide (aperture) of 1.8 or lower you may be able to do some hand-held photography with a high ISO. A general rule of thumb is if your shutter speed is slower than 1/50 of second then you’ll want a tripod.
On windy nights you’ll want to use the hook in the middle of your tripod. Many tripods have these so you can hook a sandbag to help weigh the tripod down, giving it more stability in the wind.
Remote Trigger
Also known as a remote shutter release, this tool is very helpful in long exposure situations. Since your camera needs to be completely still, physically pressing the shutter release button can move the camera, even in the slightest. This can make your image blurry, and nothing ruins an awesome shot like some unintentional softness.
While you don’t need a remote trigger, this is the only way you can successfully use the “bulb” setting on some cameras.
Extra Camera Batteries
While extra batteries aren’t necessary for night photography, they can come in handy. Here’s why:
- Long exposures can cause your camera battery to drain at a higher rate than normal.
- Temperature can also affect battery life, so keep this in mind when shooting in cold temperatures.
Keep extra batteries close to you (like in your pocket) so your body heat can help keep them warm on cold nights. Or keep the batteries in a warm place and retrieve them as needed.
Flashlight
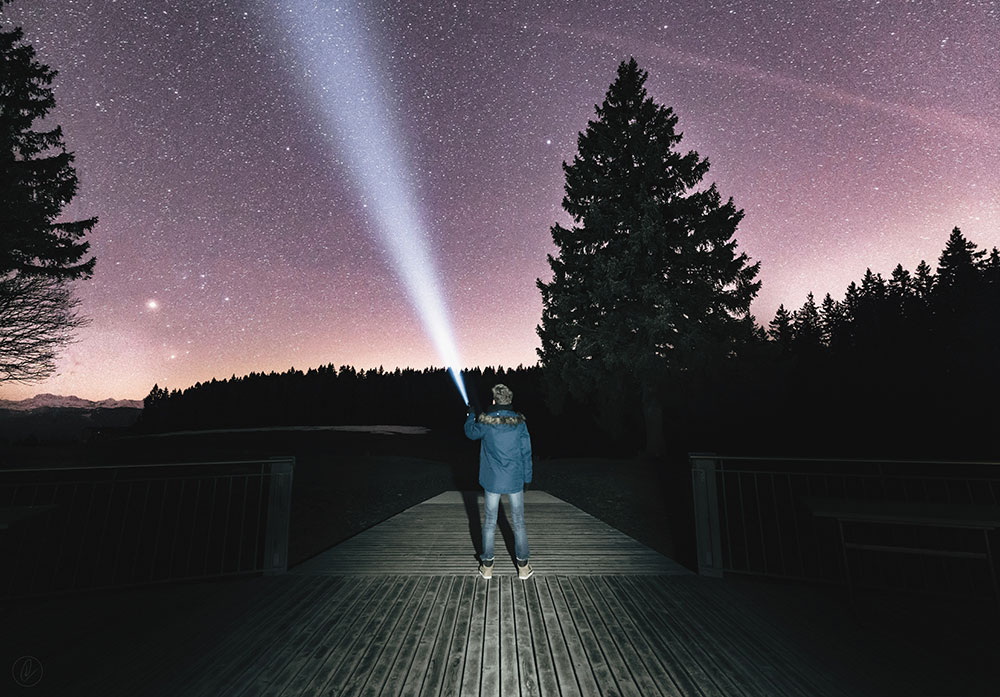
A flashlight can be helpful for finding your gear, finding your way, and safety reasons. You can also use a flashlight to “paint light” into your foreground. For example, if you’re taking a picture of a scene and exposing for the night sky, you can use a flashlight to brighten up the foreground to give your image some more depth.
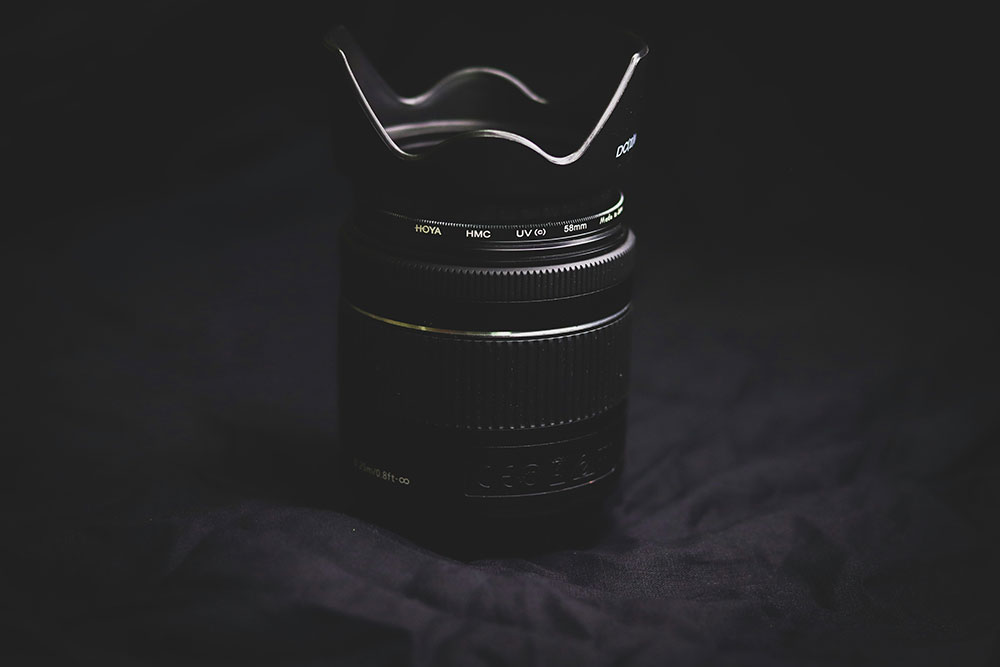
Lens Hood
This is a tool that screws onto the end of your lens that helps block light that hits your lens and causes lens flares. Lens flares often happen when you shooting directly towards the sun during daylight hours, but it can happen at night too. If there are a lot of artificial lights around it can sometimes be hard to avoid light rays hitting your camera lens. A lens hood helps with this dramatically. You don’t need this to shoot at night but it is helpful to have.
Technical Night Photography Tips:
Now that we’ve discussed the equipment that’s helpful in your night photography adventures, let’s move onto tips to use while you are shooting at night.
Shoot in Raw
Yes, shooting in raw causes large files and is not ALWAYS necessary, but it’s helpful if you want to do non-destructive edits.
When practicing night photography in urban or suburban areas there are often many different types of artificial lights. These different light sources can cast different colors on your scene, depending on the type of bulb that’s used. If you’re using auto white balance or are unsure of what white balance setting you should use, shooting in Raw will help with adjusting that color in post processing.
Use Manual Mode
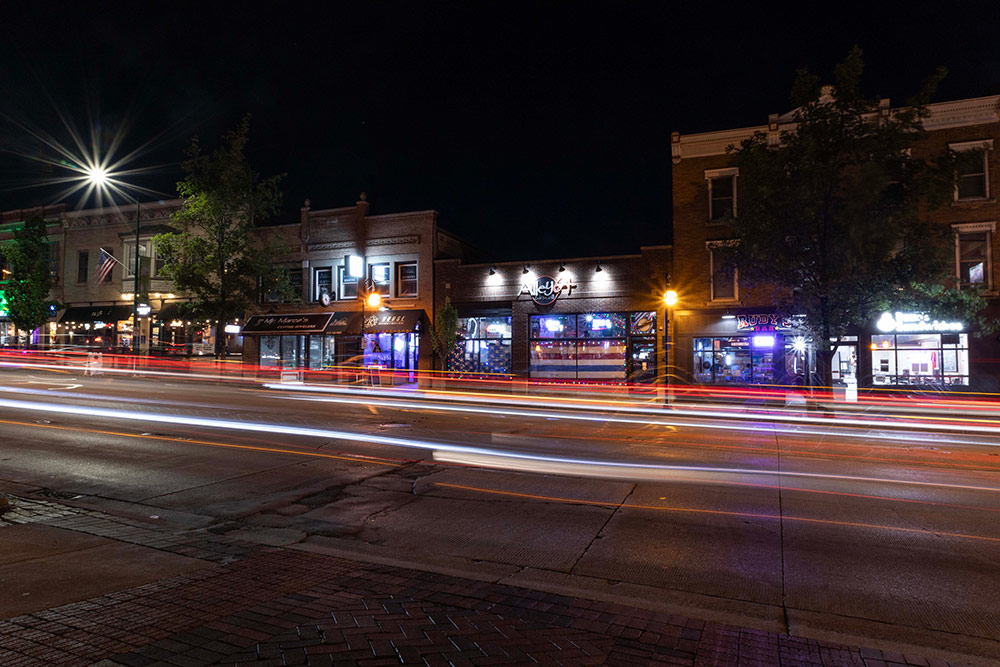
You’ll want full control over your camera settings for the best night photography. Shooting in manual mode at night is a great way to get to know your camera and its capabilities. Utilize your internal camera meter and adjust accordingly. If you’re shooting in an urban setting, you may find yourself surrounded by artificial light. Using a small aperture, (F22 or higher for example) will give lights a “starburst” effect to the rays of light it emits. This can be a cool-looking effect in your photos.
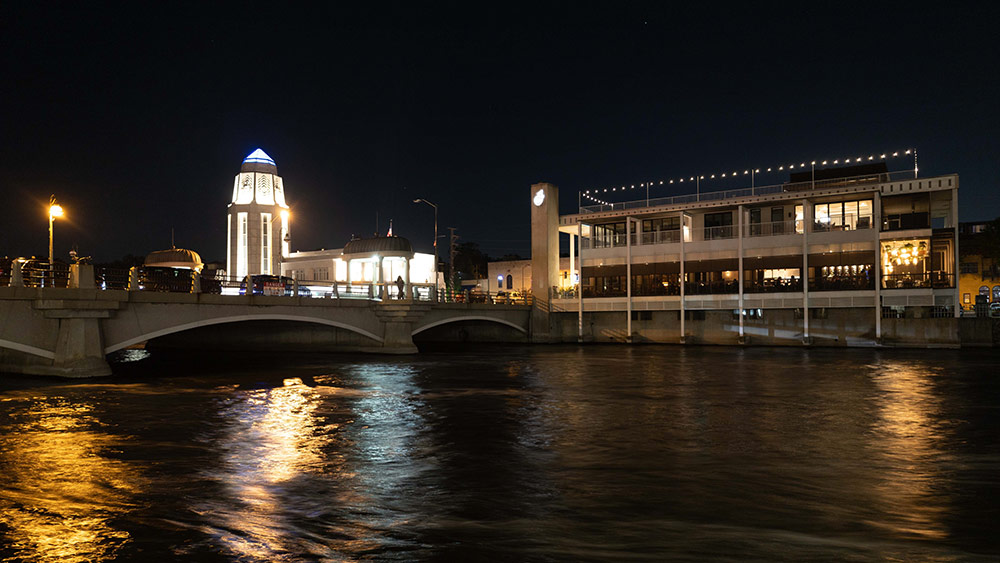
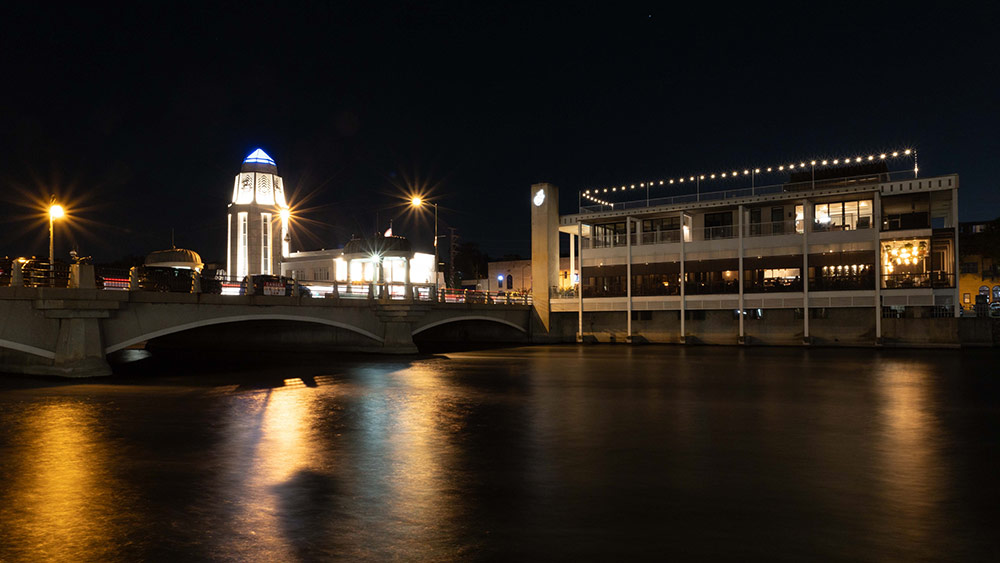
These two photos above are of the same scene on the same night but with vastly different settings. The photo on the left was shot at an aperture of F4 and the shutter was open for 1.3 seconds. The photo on the right is shot with an aperture of F22 and the shutter was open for 25 seconds. Both shots were with an ISO of 400. The image on the left has more definition in the water whereas the image on the right has no texture/definition in the water due to the longer exposure. Additionally the light beams from the street lights on the right have that “starburst” look due to the small aperture whereas the photo on the left does not.
Safety first! Be aware of your surroundings.
When out at night, in low light, you need to be hyper vigilant and pay attention to what’s going on around you. Be careful when walking around, especially in more rural areas where there might not as much light. Keeping a flashlight with your night photography gear is a must!
Test Your Settings
Shooting at night affords you the opportunity to test which settings will give you the most desirable outcome.
For example, you may be shooting on a tripod but you set your ISO high—let’s say 1600. Being that it’s night, this high ISO setting might make sense. However, the higher the ISO, the more noise you have in your image. Since you have a tripod, you can experiment with adjusting your shutter speed and aperture so you can have a lower ISO.
If you don’t have a tripod and have to hold your camera instead, you’ll want to use a higher ISO so your shutter can be faster.
Additional Night Photography Tips
- Venture out at dusk. Don’t wait until it is completely dark. Go while there’s still some light so you can get your bearings and get your creative juices flowing.
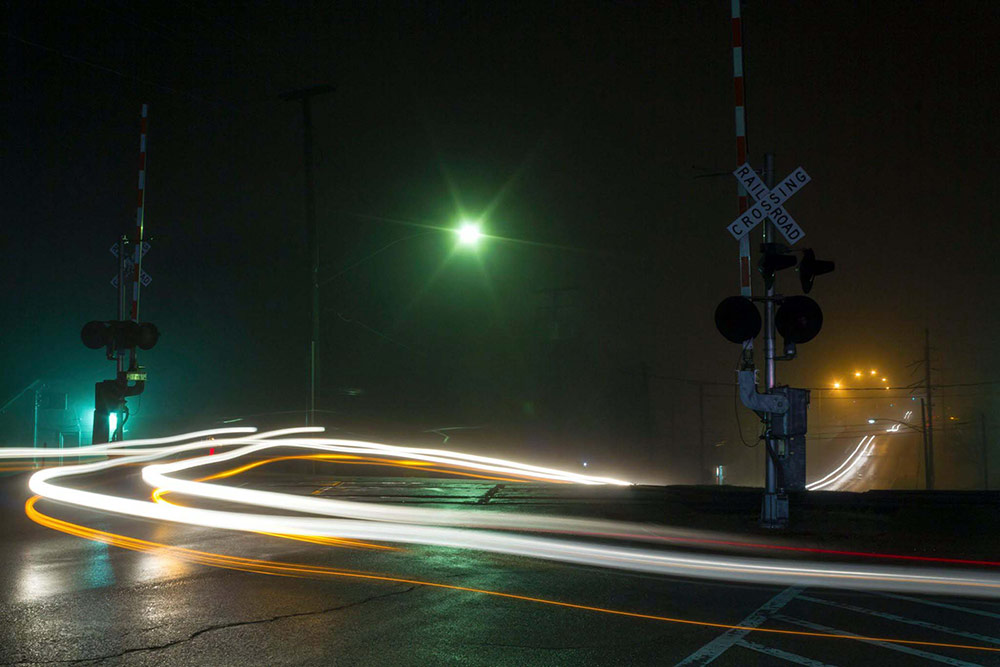
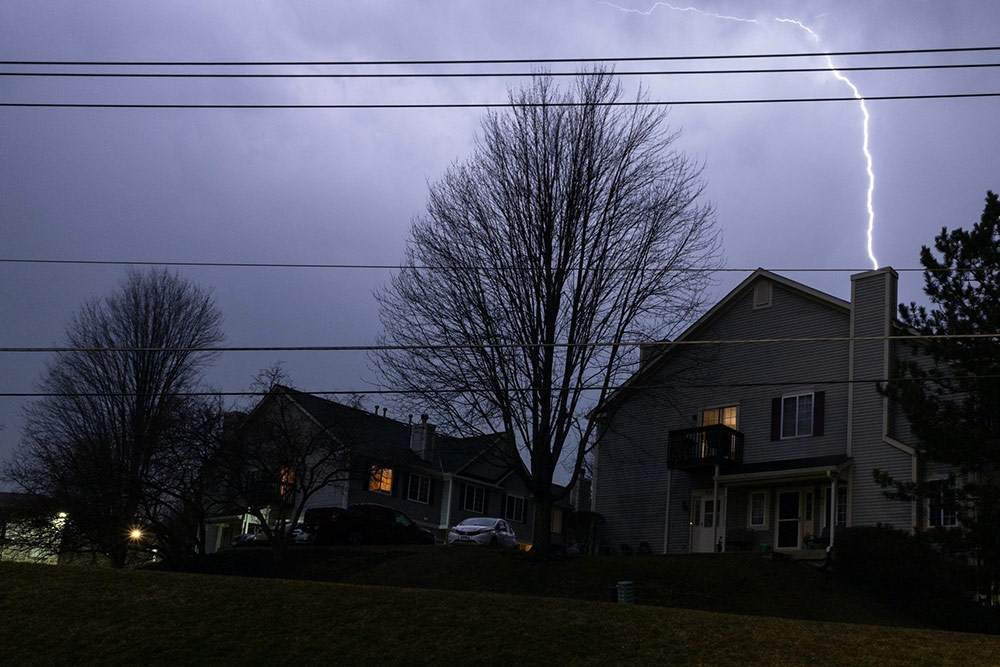
- When shooting lightning, leave your shutter open for 15-20 seconds and adjust your aperture accordingly. You will never catch lightning if you are trying to time the shutter release at the same time as a bolt strikes. Wait until the lightning strikes with your shutter open, then once it hits, close the shutter.
- Have fun! This one is a must. 🙂
Now that you have some helpful tips to help with night photography, go start shooting!
Hi, we’re Studio Style!
We design and manufacture custom photo folders, cardboard picture frames, photo mats, photo insert cards, and other event photo packaging solutions. We work with professional photographers, event planners, enthusiasts, hobbyists, and people who just like taking pictures. And we’d love to work with you!
Check out our solutions at StudioStyle.com or give us a call at (800) 346-3063.
Unless otherwise noted, all photos in this post were taken by our very own Amanda Pomplin, who is one of our customer service superstars. She went to school for Photography Technology, and before joining our team, worked as a lab technician and photo editor at a photo printing lab. She (clearly) photographs a variety of subjects, always capturing something creative (check out her landscape photography tips). We love seeing the end result. If you want to chat photography (and photo folders), ask to talk to Amanda!