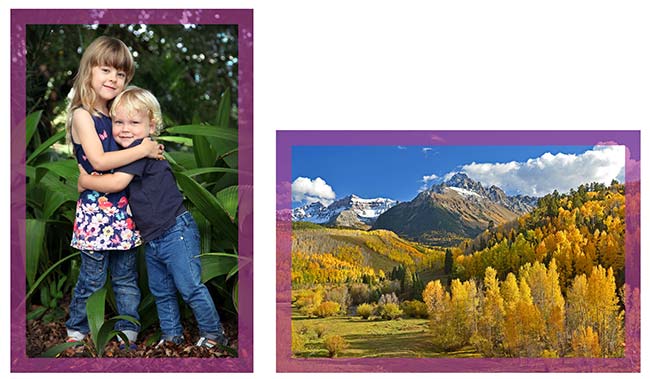
Learn how to use photo insert cards to frame your art, cross stitch, drawings, and small media
Have you ever thought about making your own greeting cards? You have the art, but no way to make a one-of-a-kind card out of it.
Let’s look at it this way: if you can frame your art the same way you frame photos, why not create greeting cards the same way photographers do? And it’s simple, really. Here’s how you do it:
Get a photo insert card. And then you just slide your 4″ x 6″ artwork in the window frame.
Done!
Now you have a beautifully finished piece that you can mail to loved ones or sell at art shows, craft fairs, and farmer’s markets or even online.
Who knew that creating a greeting card with your art could be so easy—and protect what you created?
Why are photo insert cards so popular with artists?
The photo insert cards we make are popular with photographers and artists because:
The 5″ x 7″ card holds a standard 4″ x 6″ print
The window opening measures 3-½” x 5-½”, meaning more of your art shows.

Many recycled card options for your eco-friendly art.
Especially important if you create art using eco-friendly materials or design art focused on environmentalism.

Made of acid-free, archival quality materials.
No yellowing or aging. Protect what you created.

No glue or tape needed—just slide your art in.
No damage to your photos or art with glue or tape. Your art is held in place by the window frame border. And this makes it easier if the buyer or recipient wants to re-frame your art; just slide it out, and frame it as you wish (psssst… check out our mat board for framing art prints).

Come with mailing envelopes.
Perfect for mailing prints to clients or selling at art shows. If you’re selling at an art show, consider packaging the card and envelope in a clear greeting card sleeve for added protection.

What kind of art can you frame (and mail) in a photo insert card?
Ultimately, you can insert any thin 4″ x 6″ piece of art into this 5″ x 7″ blank greeting card. Photos fit nice and snug (so they stay put without glue or tape), so keep that in mind. Cross stitch and embroidered pieces do fit in the window frame border as long as the stitching isn’t too thick.
- Drawings (by kids or adults!)
- Watercolor paintings
- Ink drawings
- Mixed media creations
- Calligraphy or hand-lettered art
- Digital or giclée prints
- Cross stitch or embroidered pieces
- Nature photography
Something important to keep in mind: the window opening measures 3-½” x 5-½”, meaning ¼” of your art is hidden under the frame edge.

Learn more about insert greeting cards for art
Never used a photo insert greeting card before? See how easy it is to insert a photo or art print, and learn about customization options for your business.
Ready to frame your art with photo frame greeting cards? Check out the full photo insert card collection. Coming up with some Christmas-themed art? Check out our holiday frame card designs.
