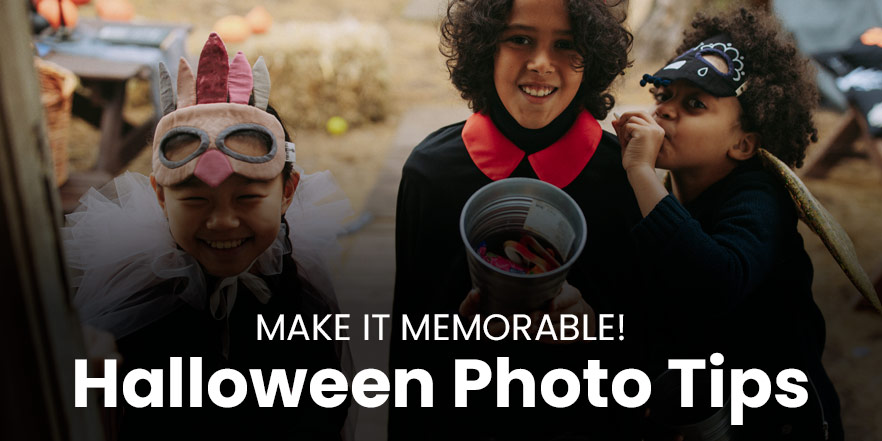
We love Halloween. And we love photography! We combined these two loves to come up with some simple Halloween photo tips to help you capture creative shots of your kids in their Halloween costumes this year.
1. Don’t wait until October 31st!
Halloween day can be busy with last-minute preparations. Take some time a few weeks before Halloween to let your kids try on their costumes. This is a good idea to make sure all parts of their costumes are in order before they head out for Trick-or-Treating.
Photographing during the mid-late morning hours when the lighting is crisp is ideal, but late afternoon or during the evening golden hour is the perfect time to capture the essence of fall. Whenever you decide to snap your Halloween photos, be sure to take your most important shots first, like the portraits and group photos.
2. Explore different settings
Set up a photo area in the back yard, or take some shots around the neighborhood if you’re pressed for time. Make use of the traditional Halloween décor you already own (cobwebs, pumpkins, hay bales, cornstalks, etc.) as background or props to accent your shoot.
If you have a couple of hours to spare, head out to a local park or nature preserve to capture the colors of changing autumn foliage for a backdrop. If you’re willing to deal with the crowds, you can even take your kids to visit a pumpkin patch or apple orchard in their costumes for some ready-made fall scenery.
3. Capture the little details, as well as the big picture
This is especially rewarding if your child is sporting a home-made costume this year. Don’t forget to zoom in on the details of their costume garments, face makeup, and accessories. Ask your child what their favorite part of their costume is, too so you can highlight that in your photos.
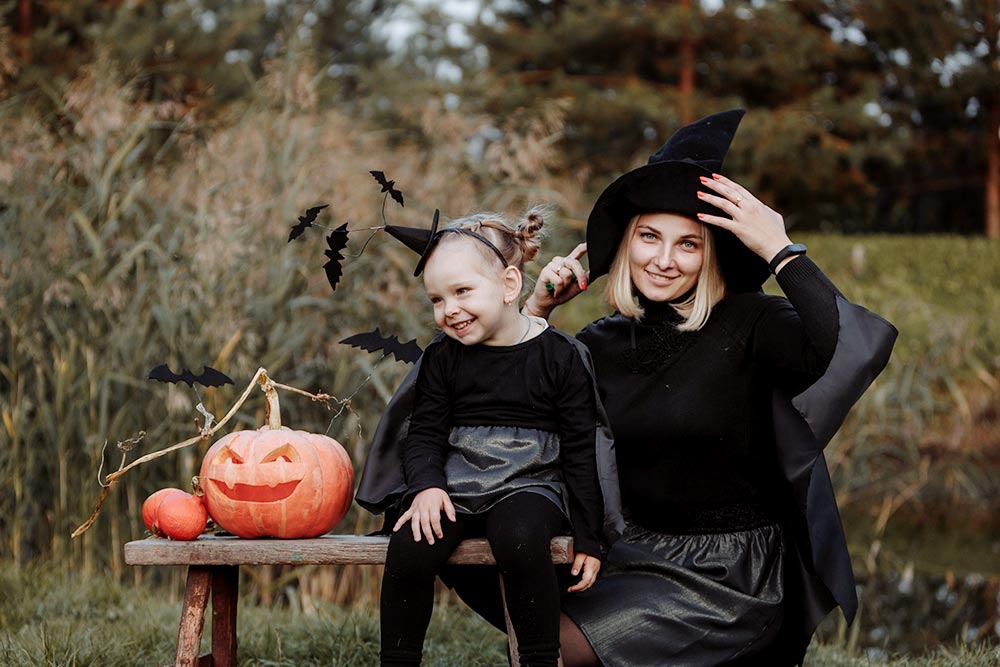
4. Use pumpkins as props
Lit or unlit, carved or whole, pumpkins can be used in countless ways to accent your Halloween photos.
This one is for the brave of heart. If your child is an infant, carve a larger pumpkin out completely and cut holes large enough for your baby’s legs to stick through. Place your child inside the pumpkin and capture the moment. Results may vary, and the best one might be a candid shot of (hopefully) everyone laughing!
This one is for everyone! For photos of your glowing Jack-o-lanterns, hit the lights, turn off the flash, and set your camera on a stable surface to avoid blur. Make use of the self timer on your camera for the most stable effect. Substitute a flashlight or LED for your light source inside the pumpkin to achieve a more even glow.
5. Try different angles
Elevate yourself and get a bird’s eye view of your kids acting out their characters in costume for a creative Halloween photo. Get down low and get on their level, too. Capture the world from their perspective by lying or squatting on the ground as they approach you in costume.
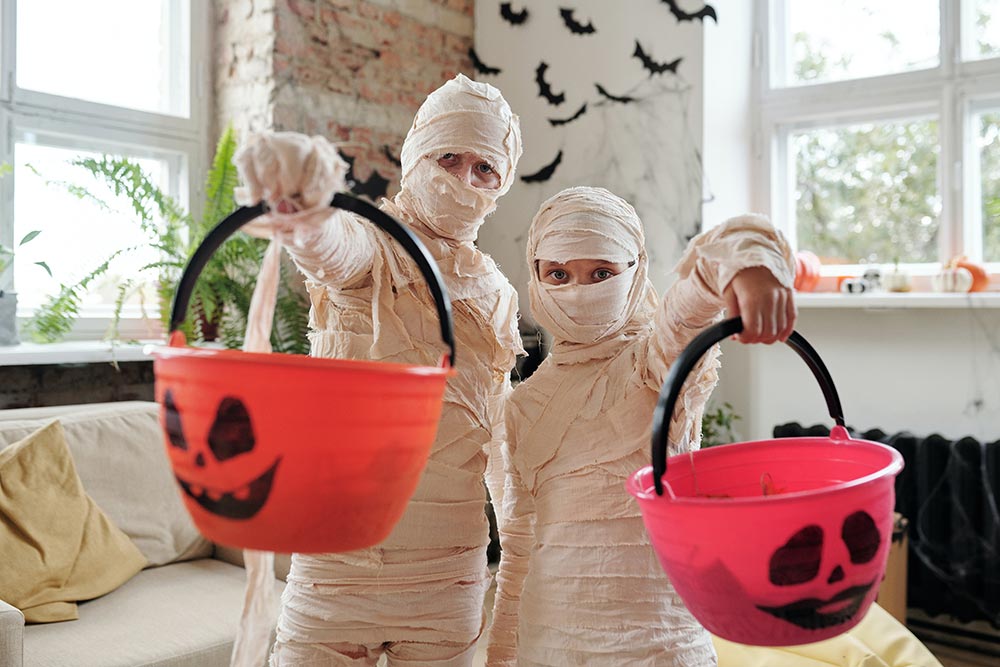
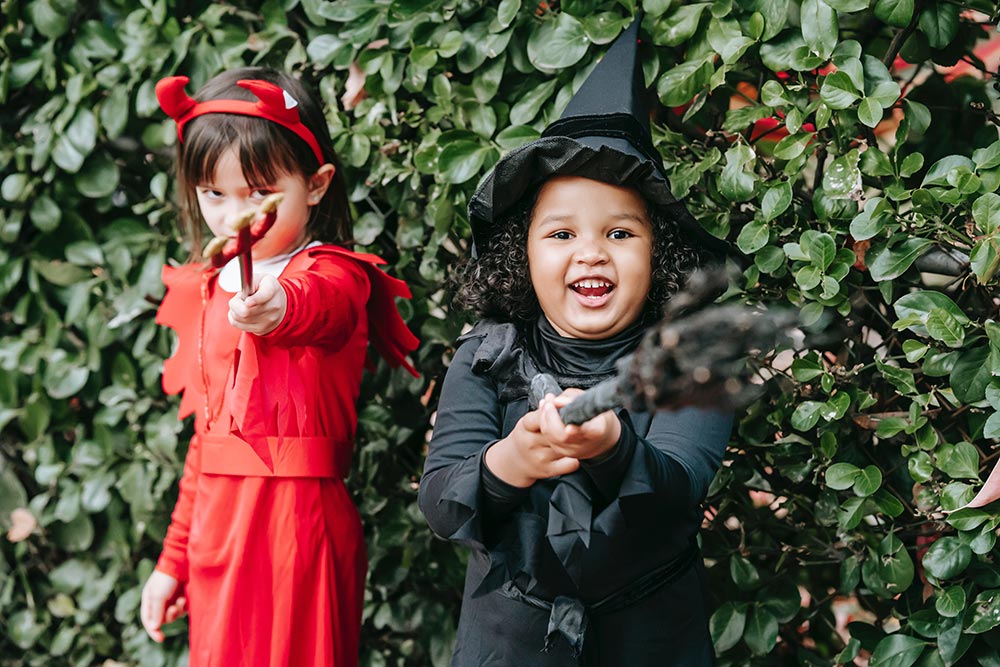
6. Get some action shots
Ask your child to get in character and strike a pose that fits their costume. Take some photos of the kids interacting with one another if they are trick-or-treating with a group of friends. Make sure to get some shots of them going both up to and from the door. Capture their smiles and excitement as they reach into their candy buckets to measure their loot.
If it comes naturally, take the opportunity to photograph your child as they hold hands with a sibling, or with their parents while walking down the sidewalk. For more ideas of great actions shots, visit our Halloween ideas board on Pinterest.
7. Set up a DIY photo studio at home
If the weather doesn’t cooperate for your outdoor Halloween photo shoot, you can always set up a simple makeshift photo studio in the garage or a large space inside. You’ll be able to make use of the soft, natural light that floods in from outside. Hang your backdrop of choice from your garage shelving (make sure to get all of the wrinkles out first if you’re using fabric). Use a sheet of black stretch velvet fabric, a heavy weight blanket, or fleece fabric for the ideal backdrop.
Other DIY Halloween photo booth backdrops could be made from:
- Balloons and streamers
- Cut-out bats, pumpkins, and spiders taped to the wall
- Wrapping paper or even orange or black cellophane
- Those big skeletons! Perhaps not the 12′ skeleton, but a few smaller ones propped up, or even skeleton cut-outs
- Make your own monsters
- Bundles of corn (sometimes called “corn shocks”) with stacks of pumpkins
- If you have a dark backdrop, make a big spiderweb from white streamers
Have any other DIY photo booth backdrop ideas or Halloween photo tips? Leave your idea in the comments!
8. Frame your prints with Halloween themed photo cards
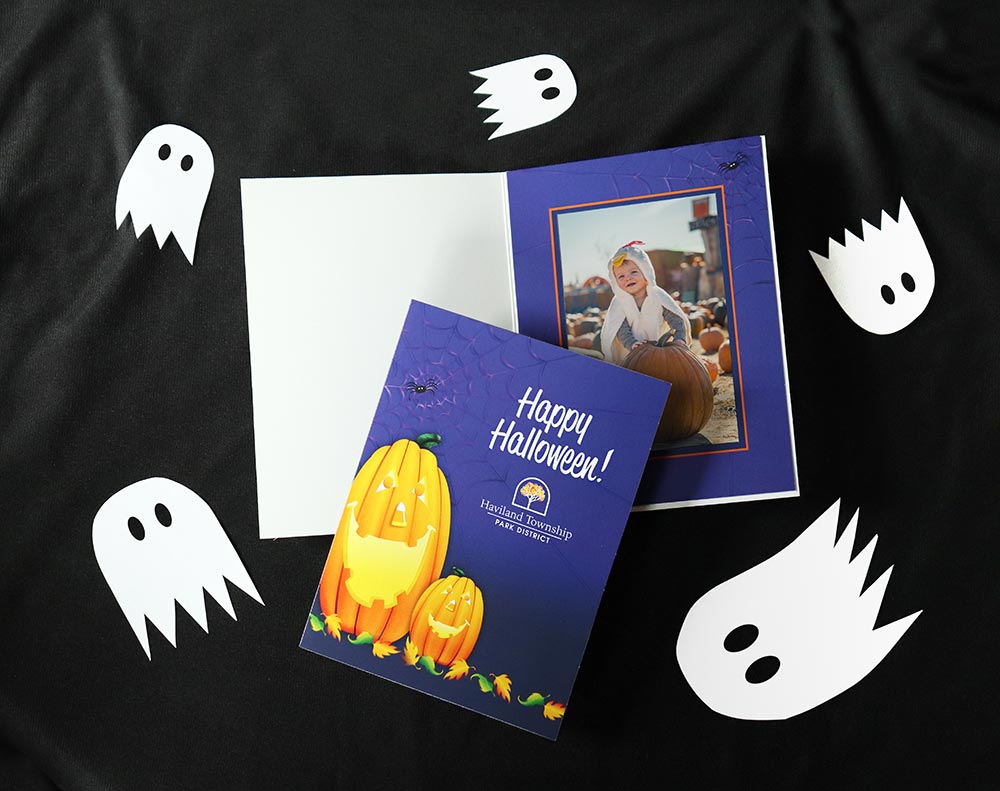
When you’re all finished and have selected your favorite Halloween shots, you can use Halloween themed photo folders or photo insert cards from Studio Style to display and share your Halloween memories. Available in several spook-tacular stock designs, our photo cards and frames also come with optional personalization and custom imprinting.
Happy Hauntings!