A deckle edge is the name given to the irregular hand-torn appearance on the edge of a paper.
The name “deckle” comes from a tool called a deckle, which is a wooden frame used in the process of papermaking. With handmade paper, as the wet pulp dries it seeps between the deckle and the mould. During this process there is some run-off which gradually thins at the edges. This results in irregular edging, or a deckle edge.
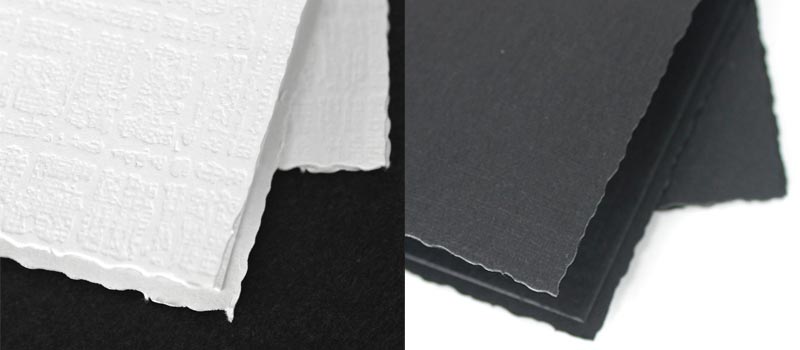
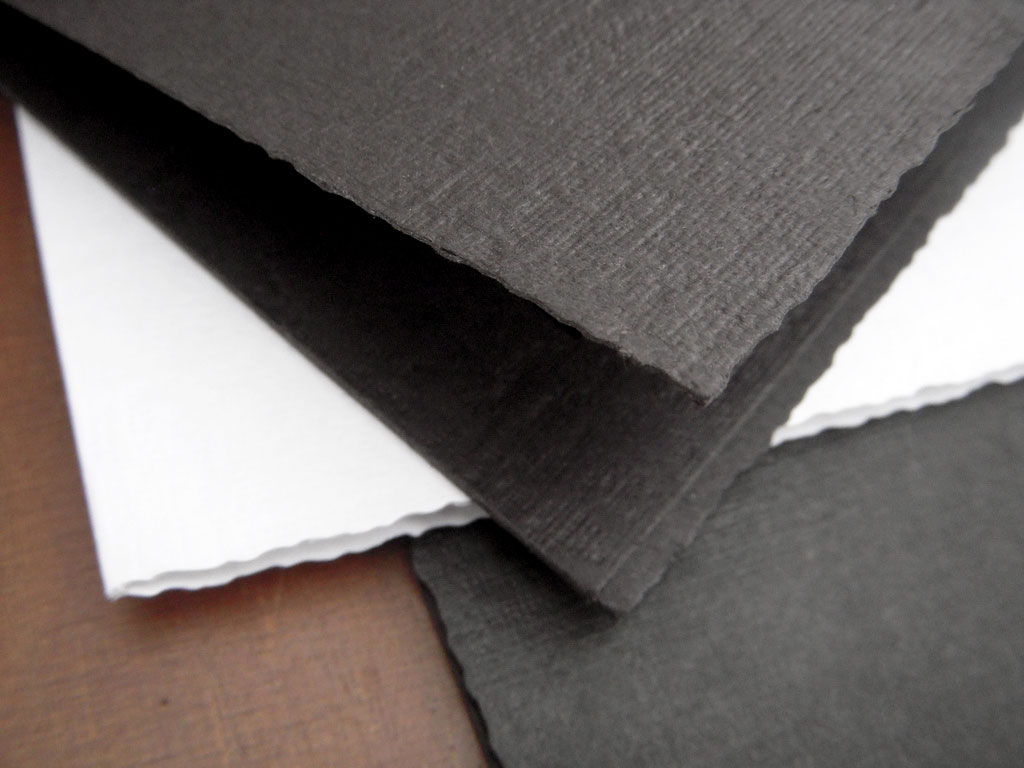
Deckle edges are not perfectly straight like the paper we are typically use. Some people describe them as being rough, ragged, raw, frayed, or uneven in nature. Depending on if the effect is a natural result of papermaking—or if it is artificially produced with a machine—there can be some variation in the degree of unevenness.
With handmade art paper, the deckled edges tend to be a soft, feathery edge that gradually becomes thinner at the end. Since it is softer and thinner, it is also more delicate. This is common with books, scrapbooking, and watercolor papers.
Many wedding invitations, stationery, greeting cards, cardstock, and higher end paper products also have a deckled edge. These often have what is called a faux deckle edge, where a machine cuts the edge of the paper to create a ragged (somewhat rippled) decorative edging for ornamental effect. Since these edges are cut rather than created naturally, they tend to be stronger than traditional deckle methods.
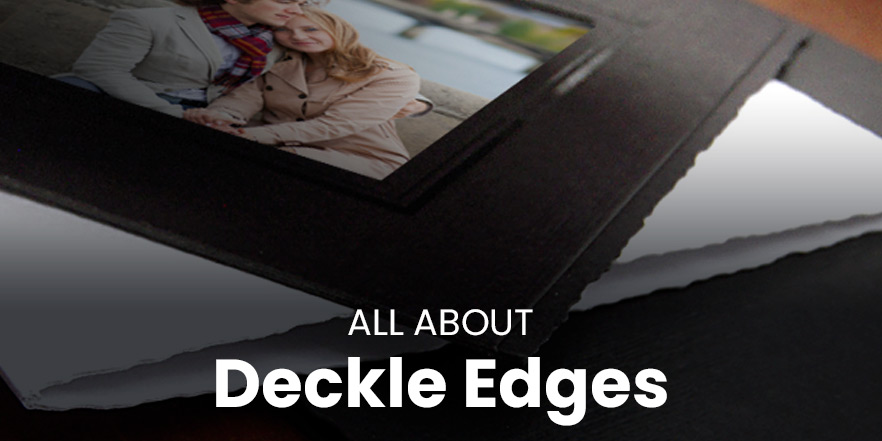
Buy Deckle-Edged Portrait Folders from Studio Style
Several of our products feature a deckle edge including our popular Portrait Folders. Since the edges of our folders are machine-cut with a special deckle die, they are sturdy and suitable for portrait, school, special event, and wedding photographers.
Deckle edge folders also work well for upscale event photography, for photo giveaways at galas, fundraisers, cruises, restaurants or any formal, upscale celebration.
1 Comment